
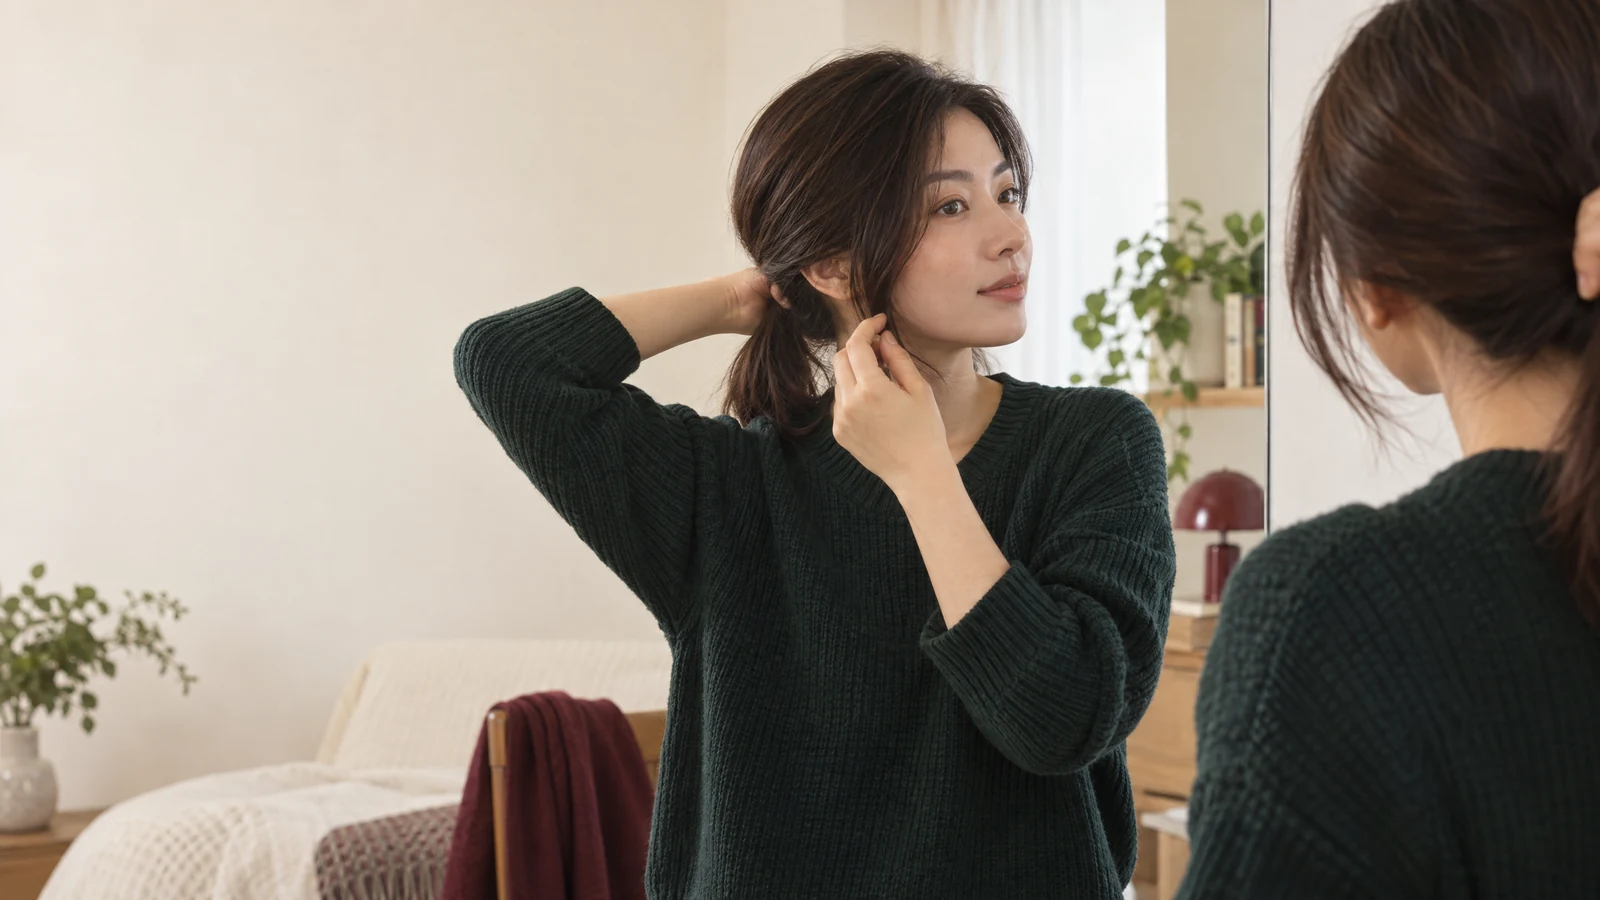





How to make fine hair look fuller: locate the flat area
Why does fine hair go flat? Compare the hair just after drying with its shape later in the day. Heavy root products, length and growth direction may be relevant to the appearance, but a photograph alone does not establish a cause. Identify the crown, parting or lengths that matter before choosing a change.
Look at your hair from the front, side and back in ordinary light. At the crown, ask whether you want a little distance between the hair and scalp. Near the face, decide whether the fringe needs a softer curve or simply a different landing position. Through the ends, look for a continuous outline rather than expecting root lift to fill every gap. Naming the area makes the next adjustment more useful.
Notice when the shape changes. Roots that look flat immediately after drying call for a different experiment from a fringe compressed by headwear on the journey to work. If the lengths separate only after a finishing cream, review that application before changing your entire routine. Keep photographs in similar light and at similar angles; a bright overhead light can make the parting look more prominent without proving a change in density.
Continue with fine hair vs thin hair for that specific comparison and the preparation questions it raises.
A practical view of how to make fine hair look fuller
Choose an observable goal: a softer crown curve, a less rigid parting or ends that sit together. Then change a single part of the routine while keeping the rest familiar. This helps you see whether the adjustment suits your hair instead of attributing the result to several unfamiliar products. A small improvement that survives your usual movement can be more useful than dramatic height you dislike wearing.
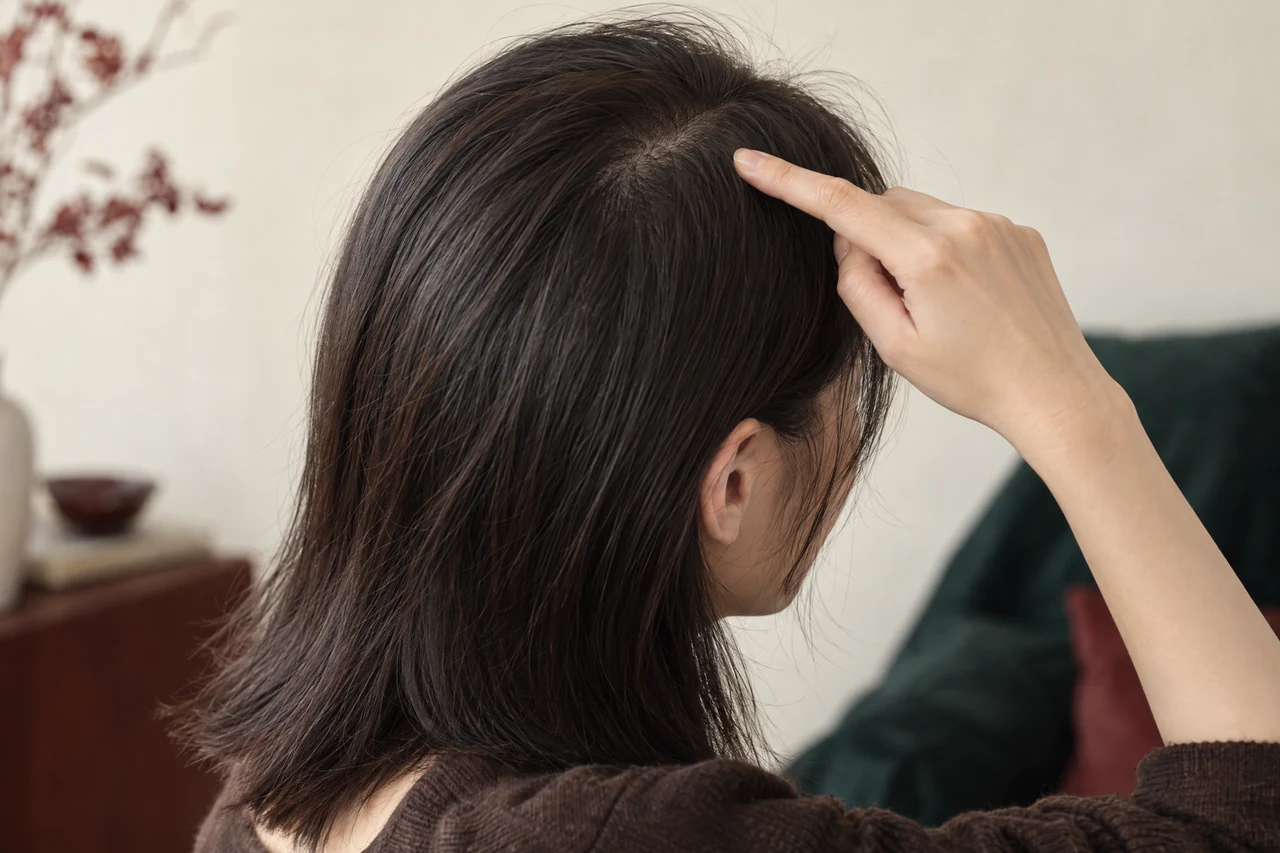
Parting position and the direction of the roots
For the best hair parting for fine hair, compare small changes in position with your natural growth direction and preferred outline. There is no one parting that suits every head of hair. When considering how to lift flat roots, discuss drying direction and crown shape, and avoid forcing the roots into a position that needs constant correction.
Start near your familiar parting rather than moving immediately to an extreme side part. Gently separate the hair with your fingers and compare the front outline. An off-centre position may place more hair over the area where you want shape, but it can also make the opposite side look narrower. A centre part may still suit you if the surrounding roots have a soft curve rather than being pressed down.
A softly irregular parting is another reversible option. Let a few surface strands overlap instead of drawing a sharply continuous scalp line. Keep the arrangement comfortable and easy to find again after washing. This changes the visible distribution of hair, not the number of strands, and an overly complicated zigzag may take more maintenance than its appearance is worth.
Compare the outline, not a universal best parting
Turn your head and let the hair settle before deciding. If the new part opens again at a crown swirl, work with that direction rather than repeatedly pulling it closed. Try gently guiding a damp root section across its usual fall during drying, then return it towards the intended finish. Ask a stylist to demonstrate the movement on your own hair if you are unsure; do not tug against resistance.
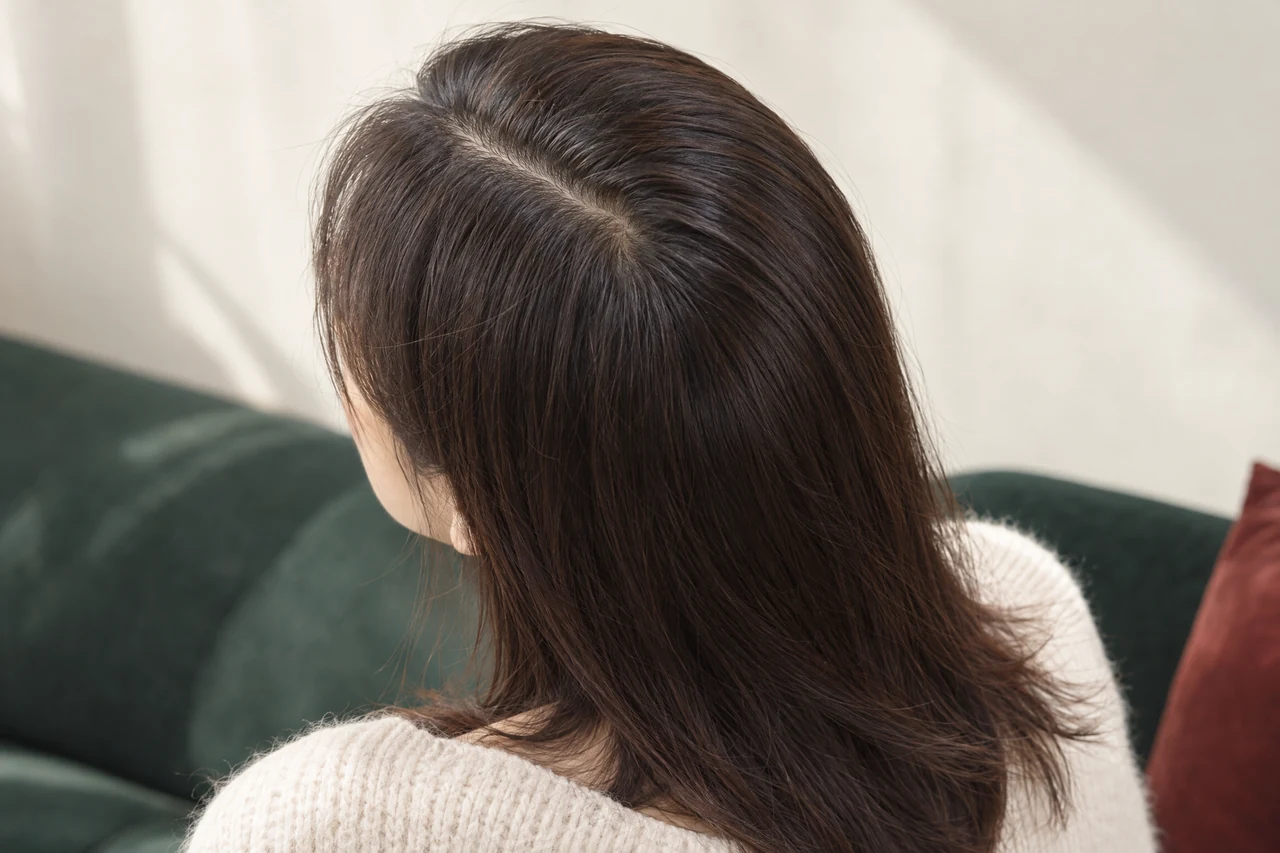
Drying choices and the amount of effort
A blow dry for fine hair volume should be discussed around the desired outline and your normal routine. Follow safe instructions for any tool you use and avoid concentrating excessive heat on the scalp. Compare whether the proposed finish is practical to repeat at home; an elaborate salon shape is not automatically the right everyday option.
First absorb excess moisture gently rather than scrubbing the hair with a towel. The American Academy of Dermatology's healthy hair tips recommend gentle handling, limiting heat styling and using low or medium heat with a heat-protection product. These are care recommendations, not evidence that a particular drying technique creates a fuller hairstyle.
If you choose to blow dry, concentrate your shaping effort on the area you identified. Work with a manageable section, gently supporting the roots away from their usual flat position while keeping the dryer moving and following its instructions. Leave the rest of the outline relatively quiet. Lifting the crown while fluffing out both sides can create width you did not want, so check the profile as well as the front.
For safety considerations beyond the outline itself, review how to protect hair from heat styling before adding repeated hot-tool passes to your morning routine.
Body at the roots does not require a dense product layer
Start with the drying movement rather than a stack of products. Once the hair is dry, release the section and assess its natural fall before adding finishing hold. If a large brush wraps or catches your lengths, do not force it through; a simpler finger-guided finish may be more practical. More tension and hotter air are not substitutes for a comfortable technique.

Fullness without adding hair
If you are considering how to make thin hair look fuller without extensions, compare parting, a more coherent perimeter and temporary root shaping. These choices work with existing hair rather than adding strands. They cannot restore density or guarantee scalp coverage, and a new reduction in hair density should be assessed medically rather than treated solely as a styling challenge.
For the lengths, try letting neighbouring sections sit together instead of pulling them into many narrow, separated pieces. A gentle bend towards the same end direction may make the lower outline look more continuous. Very pronounced waves can add width while revealing spaces between sections, so more texture is not automatically more apparent fullness. Keep your preferred smoothness and movement in the comparison.
If the ends look sparse even when arranged together, discuss the retained perimeter before asking for more layers. Daily styling cannot replace hair that has already been removed from the end line. That does not mean you must cut everything short; it means a structural question deserves a separate conversation from a temporary root-shaping experiment.
Continue with haircuts for fine hair volume for that specific comparison and the preparation questions it raises.
Keep an outline goal separate from a density goal
A familiar flat crown and a newly widening parting are not interchangeable concerns. If you are worried about thinning or hair loss, the American Academy of Dermatology's guidance on avoiding hair damage advises seeing a dermatologist. You can still explain your appearance preferences to a stylist, but a cosmetic finish should not delay assessment of a new change.

Choose product placement before adding more hold
For everyday lift, distinguish a product intended for roots from one intended to soften ends. Read the application instructions and use the recommended amount for your hair. A cream that feels pleasant through dry tips may leave the crown too coated for the shape you want. Keep a record of where you applied it so the next wash offers a useful comparison.
Do not remove conditioning from the routine simply because you want volume. The American Academy of Dermatology recommends conditioner after washing and, for fine or straight hair, application to the ends. If your fine hair is also curly or dry, its needs may differ. Balance detangling and softness with placement rather than treating every conditioner as unsuitable.
Evaluate the finish by touch as well as height
Let the product and hair dry as directed before judging. Notice whether strands remain movable, whether the roots feel sticky and whether the lengths clump together. A finish that holds height but feels uncomfortable may not suit daily wear. On the next wash, simplify a nonessential layer rather than adding another product to compensate. Avoid repeatedly pulling a set style apart to recover lift.

Make the fuller-looking finish fit your Hong Kong routine
Test your chosen outline during an ordinary day, not only in front of the bathroom mirror. Consider a walk outdoors, office air conditioning and whether you tie your hair back. After headwear, gently release the compressed area rather than immediately restyling the whole head. Judge the result when the hair has settled; the aim is a wearable shape, not constant correction.
If humidity also brings unwanted surface frizz, compare the priorities in haircut or treatment for frizz in humid weather. Smoothing every root tightly may conflict with the height you wanted. Explain which matters most: a quiet surface, crown shape or minimal daily effort.
Use this 6-point checklist to prepare a practical styling discussion. Bring an ordinary-day photograph and describe the step you find hardest, whether that is locating the parting or coordinating a brush and dryer. Ask to see a simplified version of the proposed finish before committing to a routine you cannot repeat.
Review volumising hair styling to check its service scope and the details to share before arranging the related work.
Ask for a repeatable movement, not an identical daily result
A useful demonstration shows which section to lift, where to let it fall and when to stop adjusting. Tell the stylist if you prefer air drying or rarely use tools. The AAD recommends air drying when possible and the lowest heat setting when using heat tools. Your preferred routine may therefore favour a modest parting change over a highly worked finish.

Compare reversible ways to change the visible fullness of fine hair
| Choice | Appearance to compare | Practical trade-off |
|---|---|---|
| Modest parting shift | Different distribution beside the face and crown | May favour one side while narrowing the other; check natural growth direction |
| Softly irregular parting | A less continuous visible scalp line | Can need extra rearranging; does not increase density |
| Local root shaping during drying | A gentle crown or fringe curve | Requires comfortable technique; avoid repeated heat to chase height |
| More coherent end arrangement | Lengths that read as a connected perimeter | Less piece-by-piece definition; cannot restore removed end weight |
| Simpler product layering | Movement without an unnecessarily coated root area | Less rigid hold may suit daily wear better than maximum height |
Your preparation checklist
- Identify the area you want fuller: crown, fringe, beside the parting or ends.
- Bring a photograph in ordinary light and say when the shape usually flattens.
- List your wash, conditioning and styling products, including where you apply them.
- Explain your usual drying method and which tools you are comfortable using.
- Mention headwear, tying back, outdoor journeys and the finish you want to preserve.
- Ask for a simplified demonstration and agree which adjustment to try first at home.
Frequently asked questions
How can I add volume to fine hair without a perm?
When considering how to add volume to fine hair, start by comparing drying direction, parting and product weight. These are temporary styling choices, not guarantees of all-day height or increased density.
Should I always use more styling product for lift?
No. Extra layers can add weight or a coated feel. Review the product's instructions, amount and application area rather than assuming more product always creates a fuller outline.
Will the same parting work for every fine-haired person?
No. Natural growth direction, crown shape and the outline you prefer matter. Compare the appearance and practical effort of a change rather than treating one parting as universally best.
Find a fuller-looking outline you can manage at home
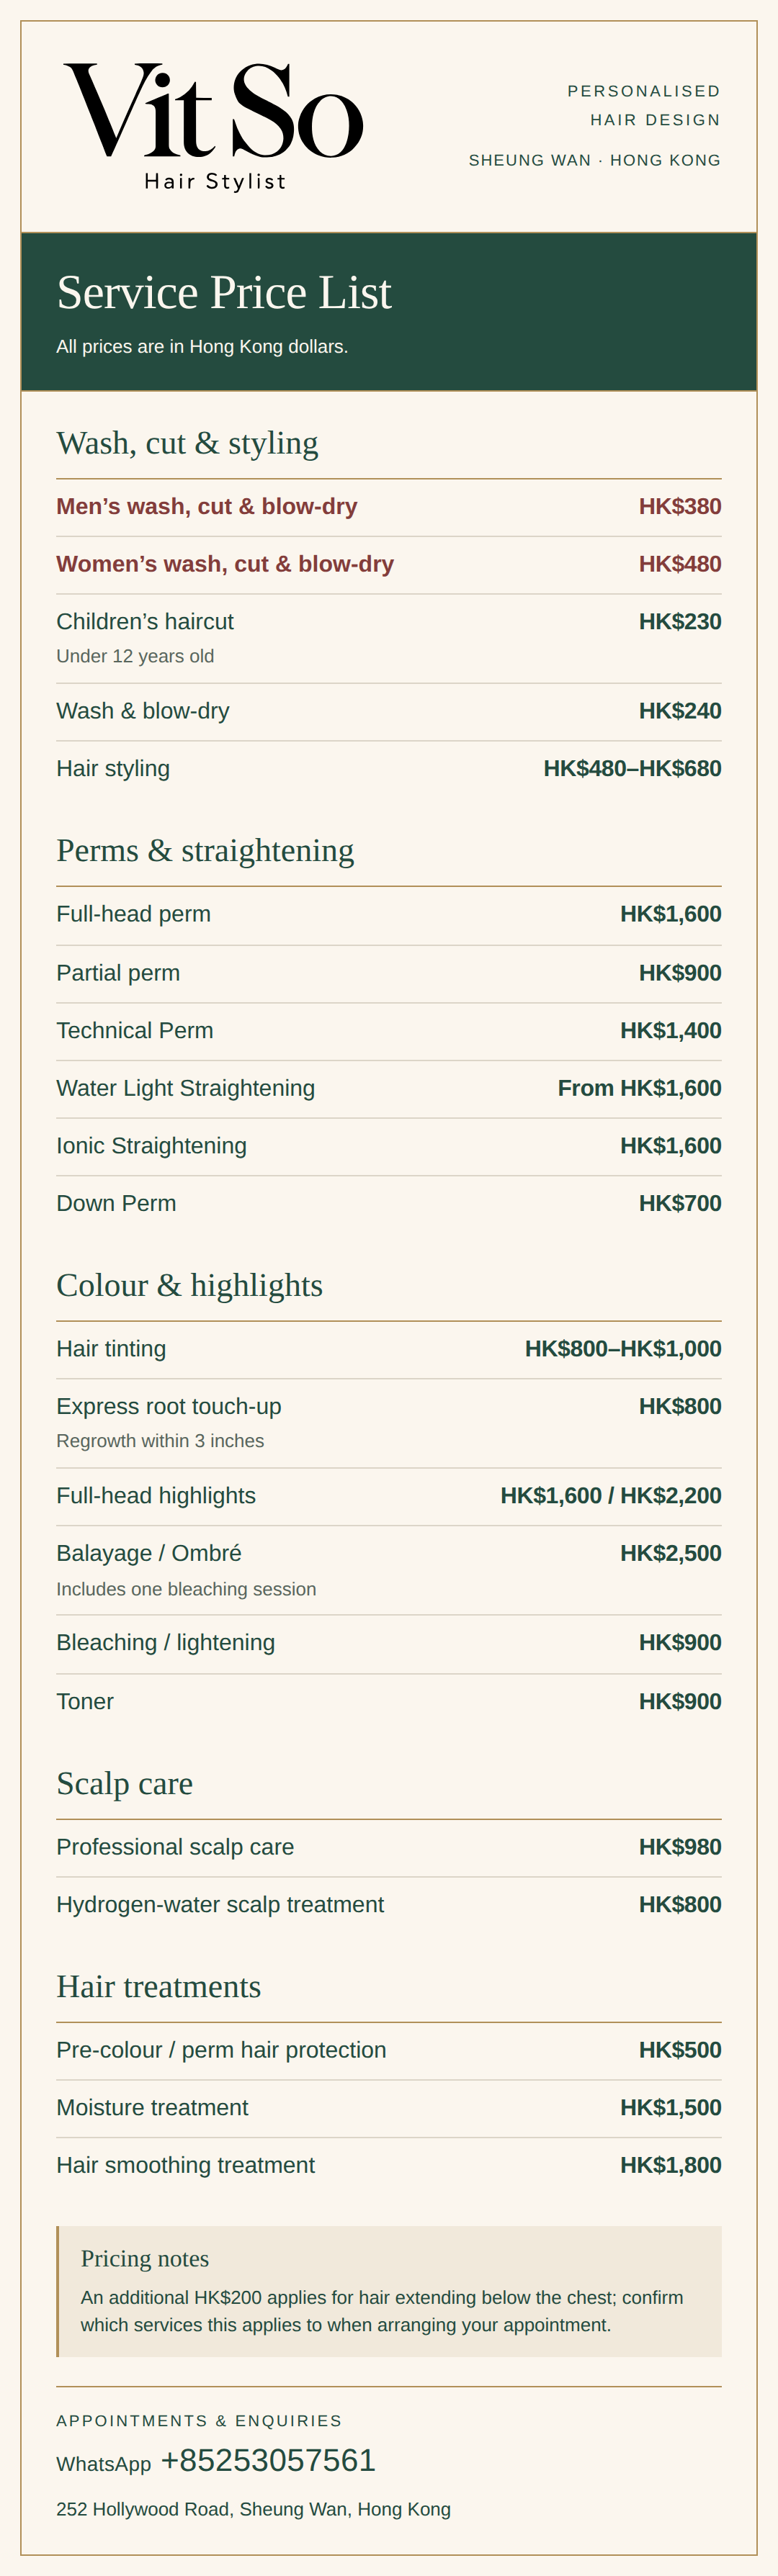
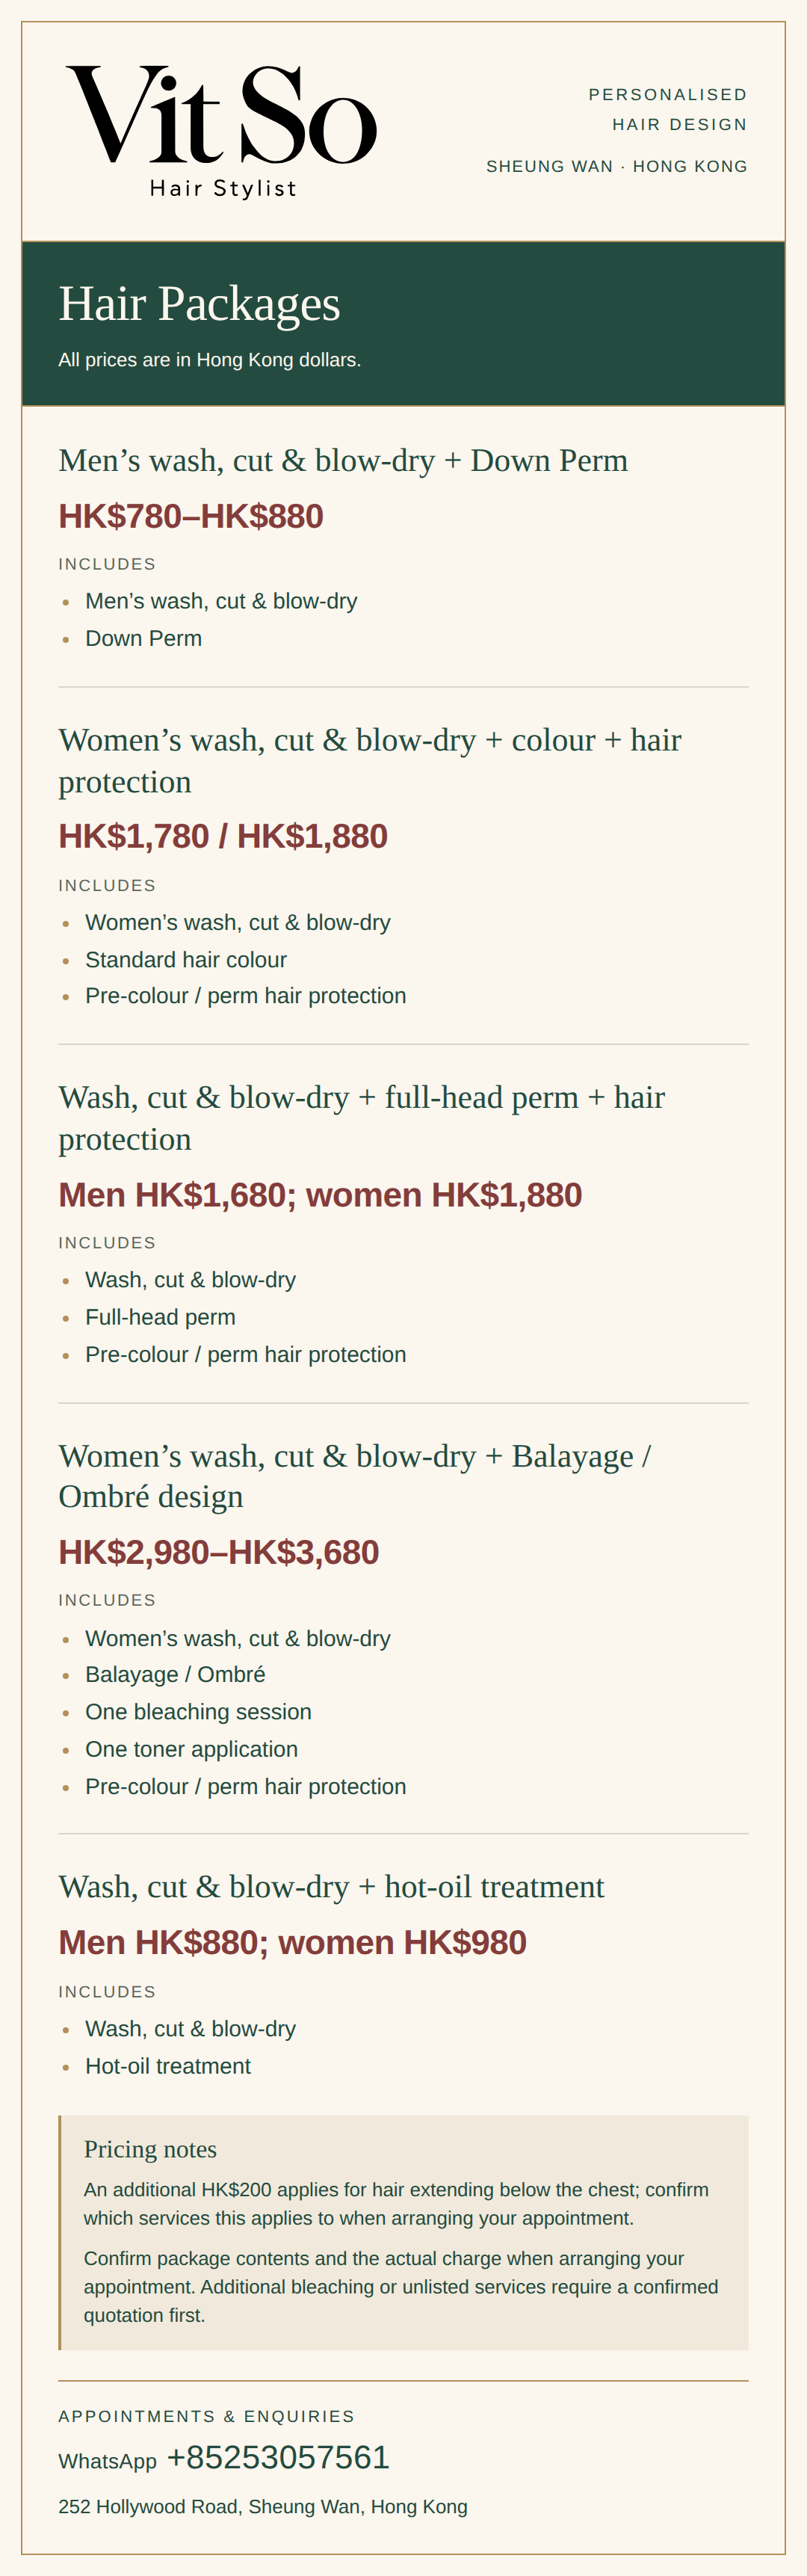
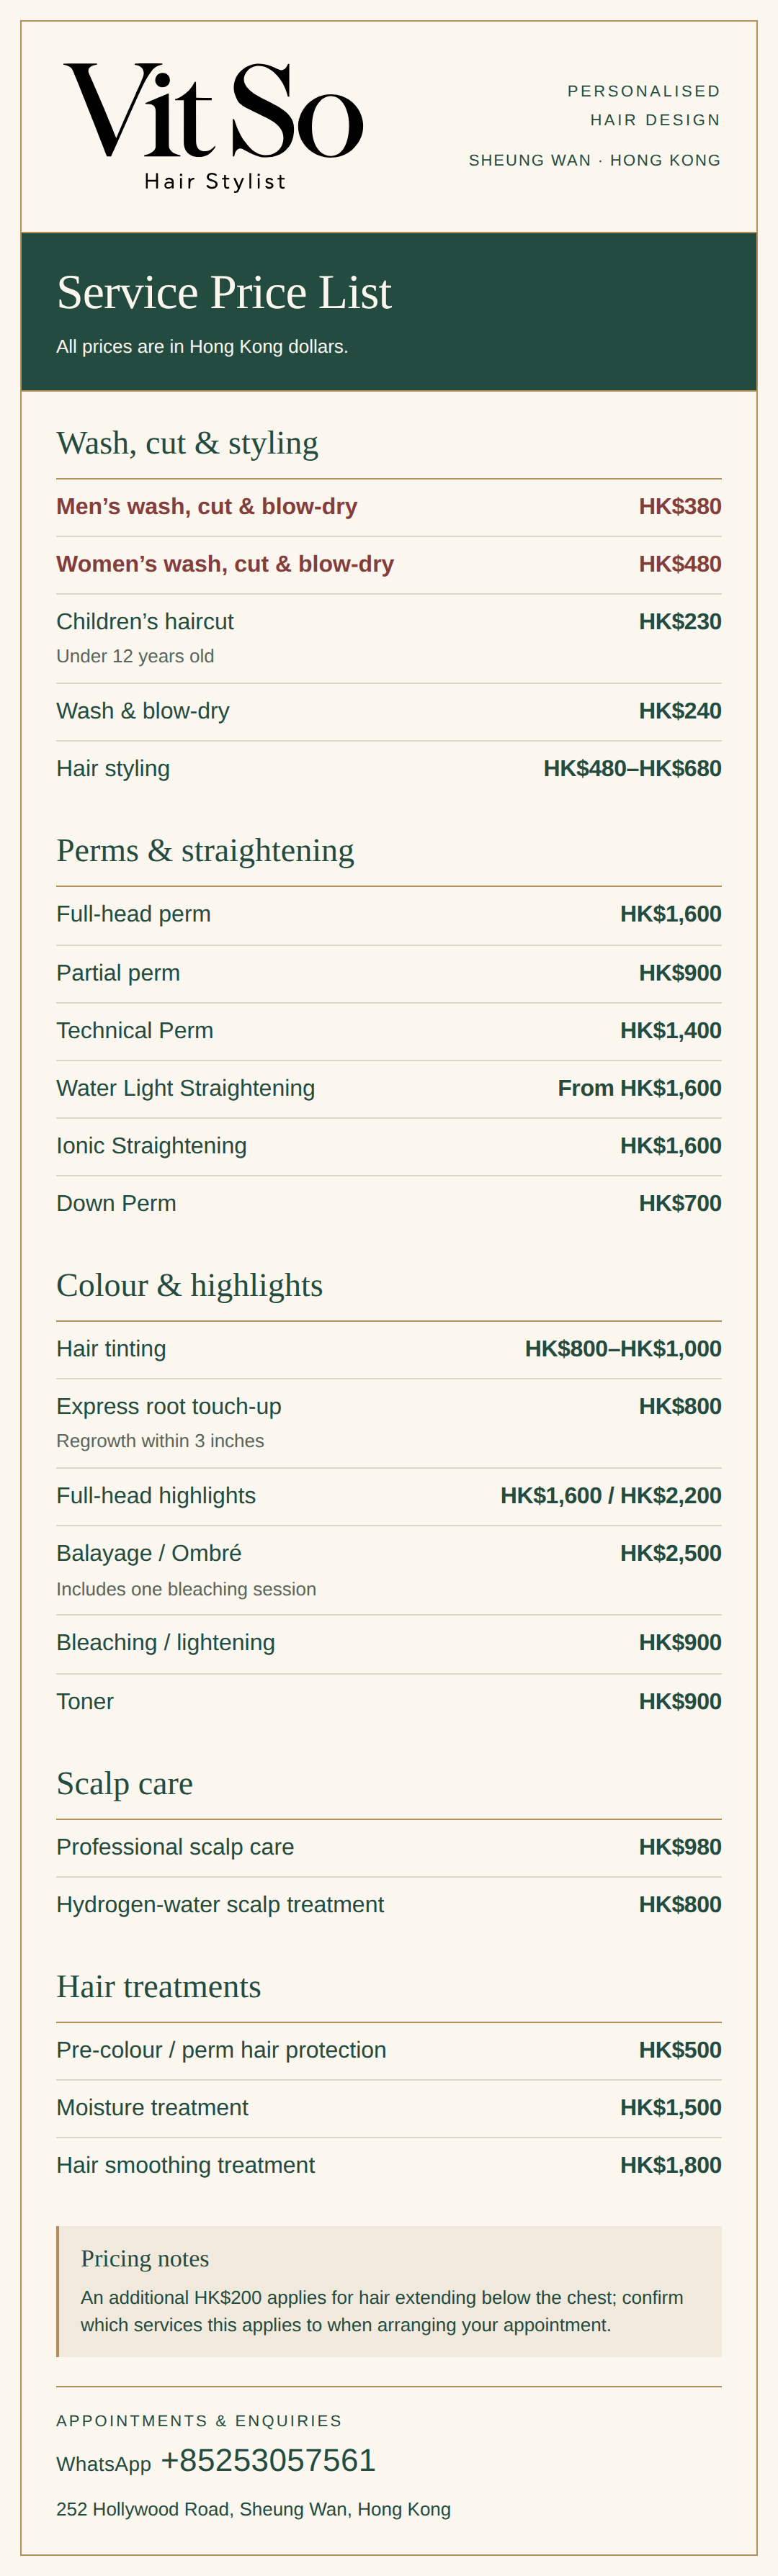
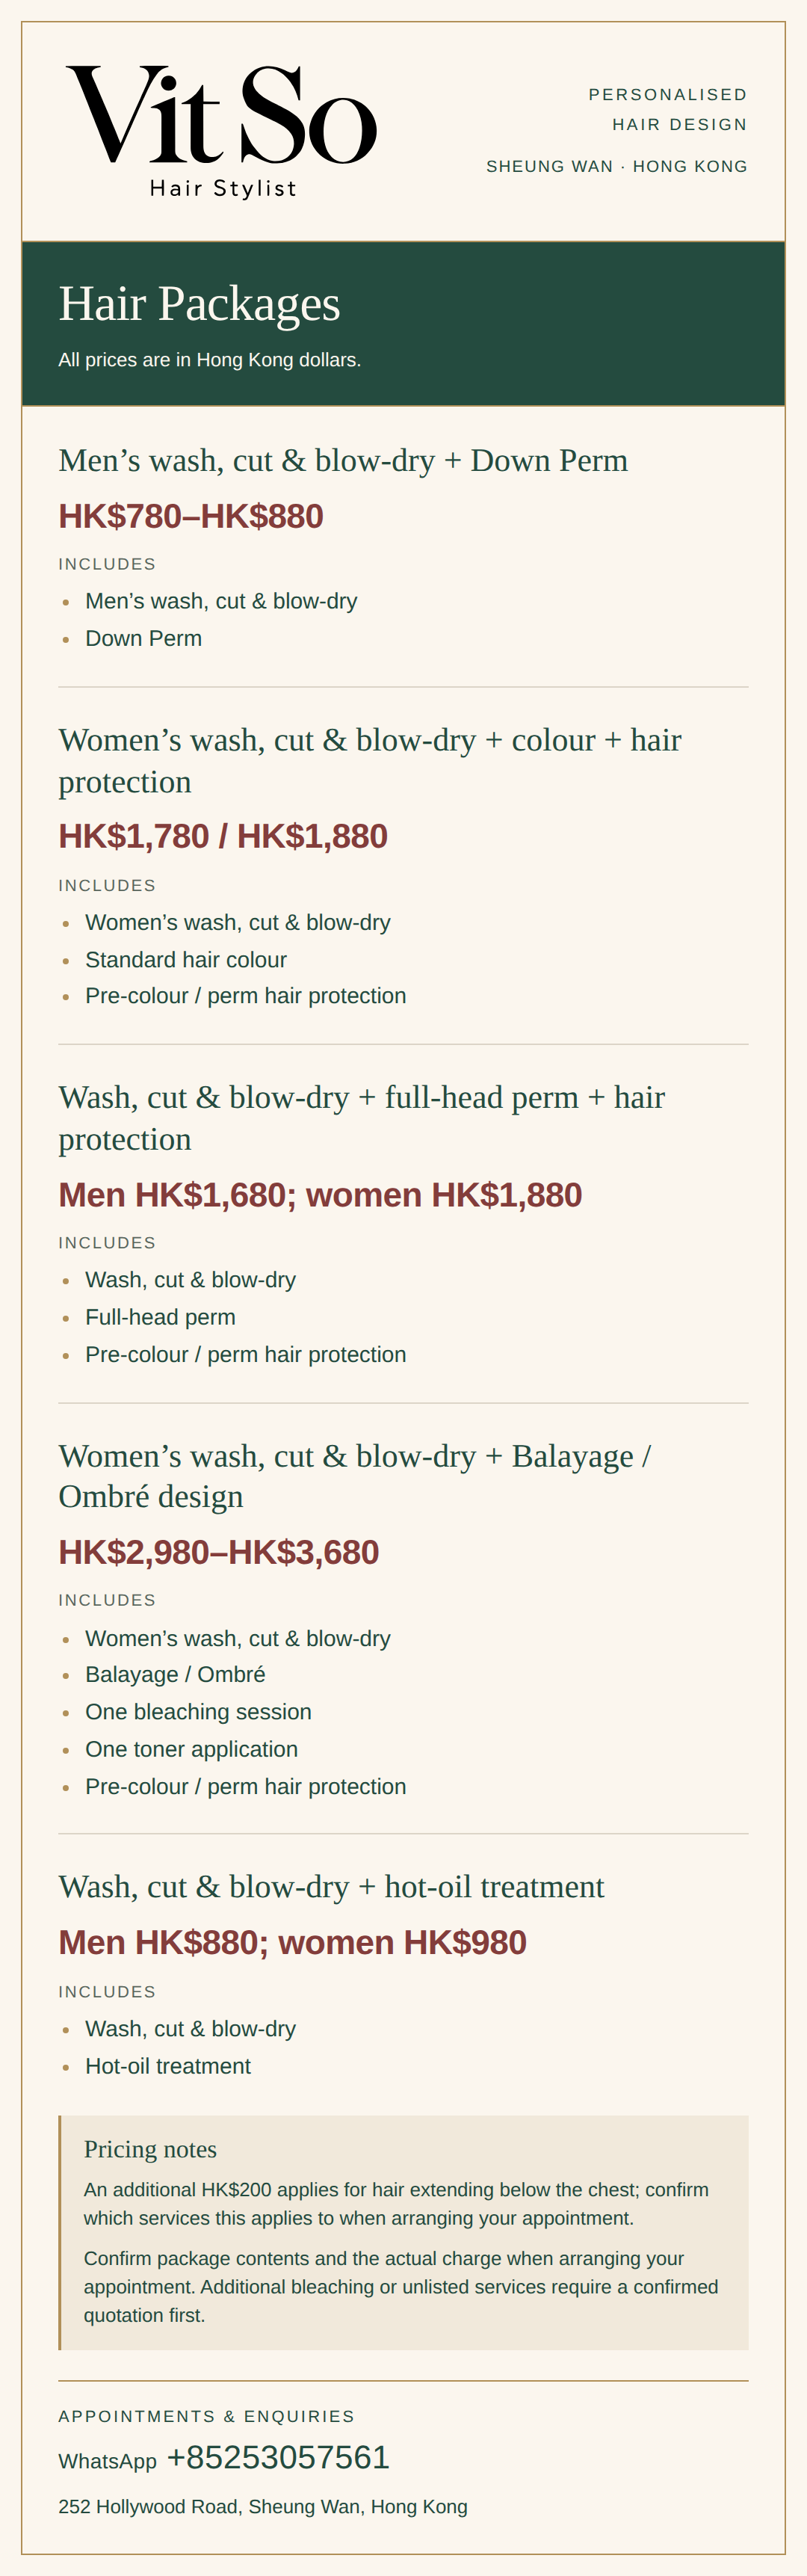
For a styling enquiry with Vit So in Sheung Wan, share your current length, the area that looks flat and your usual drying routine. Explain whether you want to keep the same cut and avoid chemical services. Ask about a finish that fits your daily effort and confirm the proposed scope and charge before arranging a visit. An enquiry is not a confirmed booking.
Start your WhatsApp enquirySources & further reading
- Tips for healthy hair
Gentle moisture removal, conditioner placement for fine or straight hair, and limiting excessive heat with low or medium settings and heat protection.
- How to stop damaging your hair
Air drying when possible, the lowest heat setting, avoiding pulling during styling, and dermatological assessment for concerns about thinning or hair loss.