
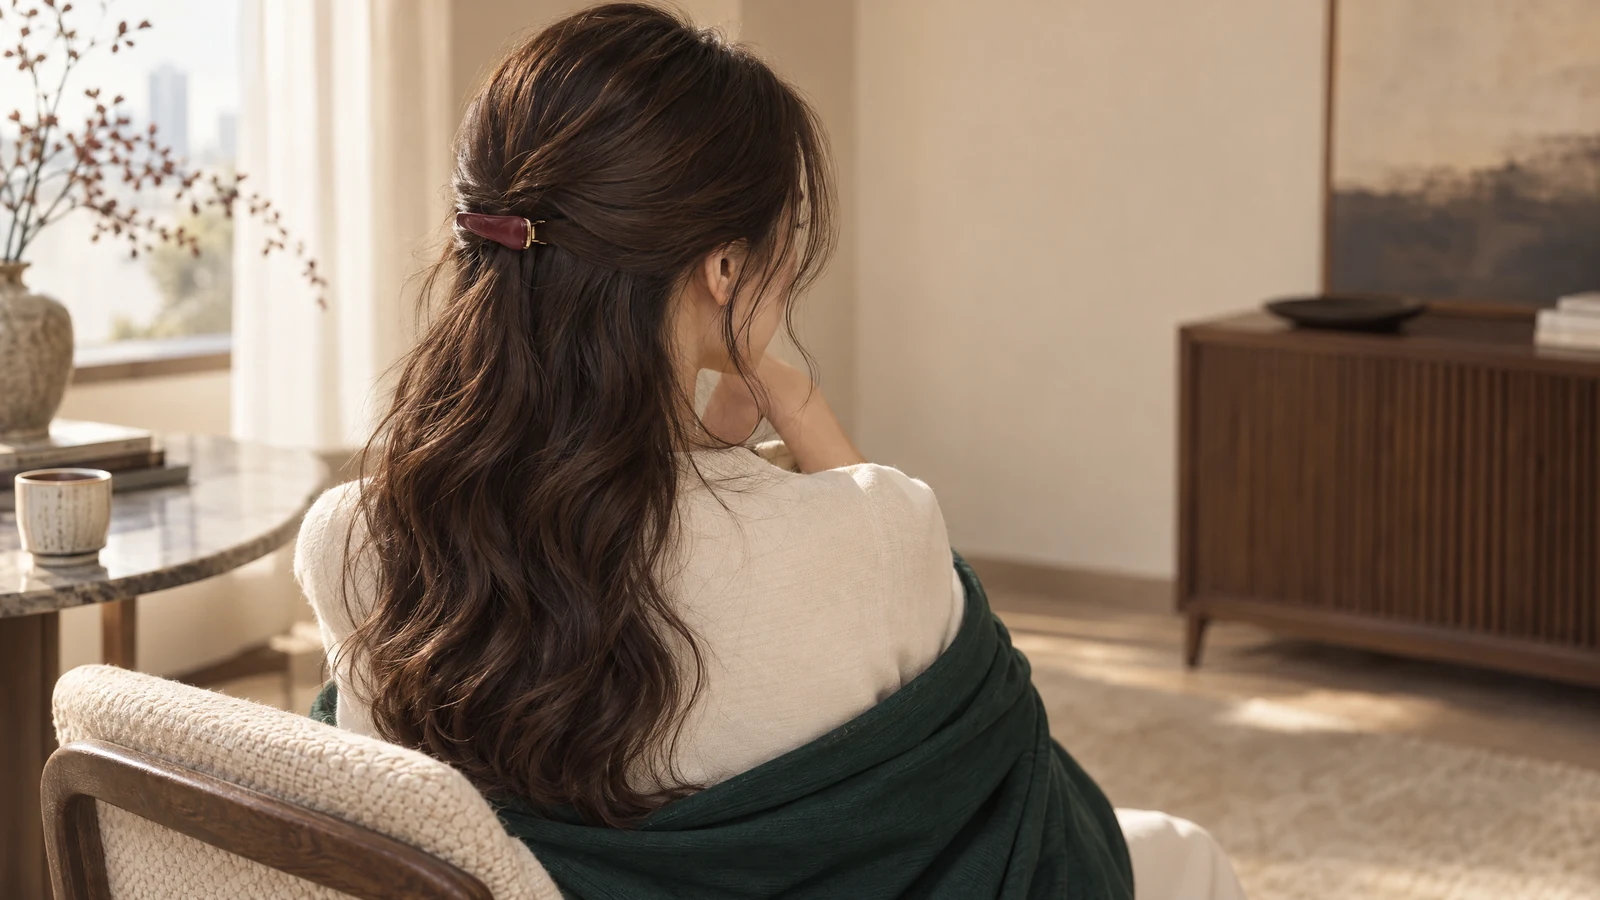


What a layered haircut that still works in two plaits must preserve
Two plaits divide the job of gathering your hair. A low plait behind each ear asks the side hair to travel towards its own braid, while pieces near the centre nape need to travel sideways into the correct half. When you make one ponytail, those same pieces take a different route towards one shared gathering point. Passing that test therefore does not establish that both plaits will work. Show the divided arrangement rather than describing everything as hair that can be tied back.
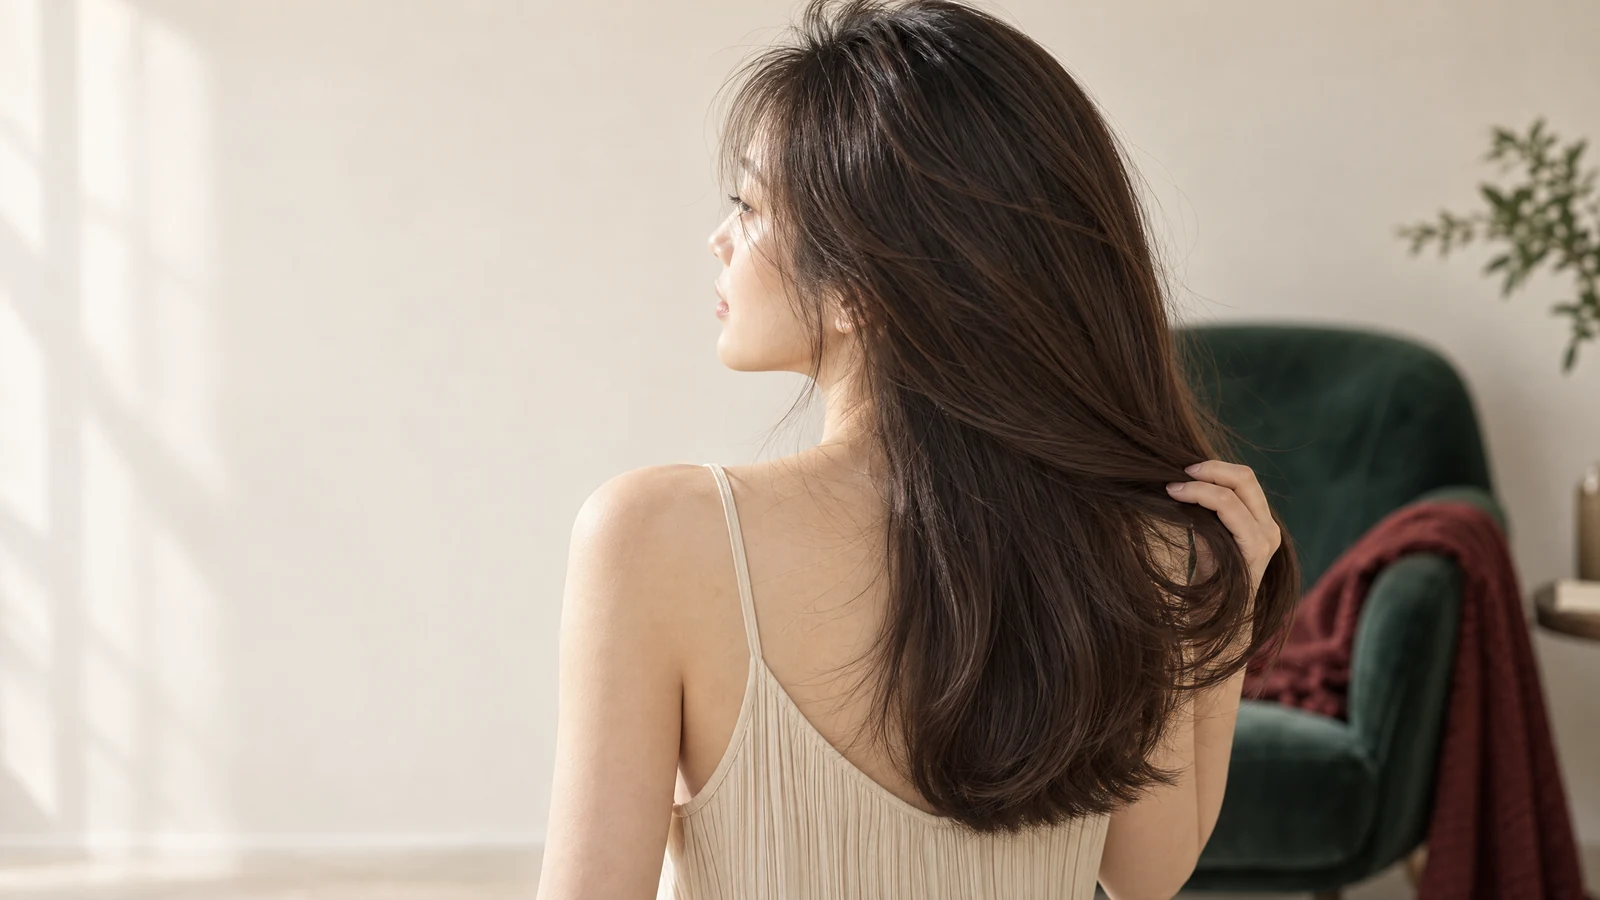
A retained perimeter means the longest outside edge remains long; it does not mean every strand within the shape stays that length. MHDPro's professional explanation of long layers describes removing weight from internal lengths while some techniques preserve the perimeter. For your plaits, discuss those internal pieces as well as the back edge. The shortest functional strand may be less obvious than the long ends in a reference photograph, yet it can decide whether your everyday braid feels manageable.
Define your layered haircut that still works in two plaits before discussing style names
Explain what 'works' means in your routine. Perhaps both plaits must gather the nape without pins, while a deliberately loose fringe is acceptable. Or you may tolerate a soft braid surface but not repeated unravelling beside the ears. State whether you start braiding below the ears or add sections along the scalp in French or Dutch plaits. These are different arrangements, and being willing to use one does not mean you want to replace the other.
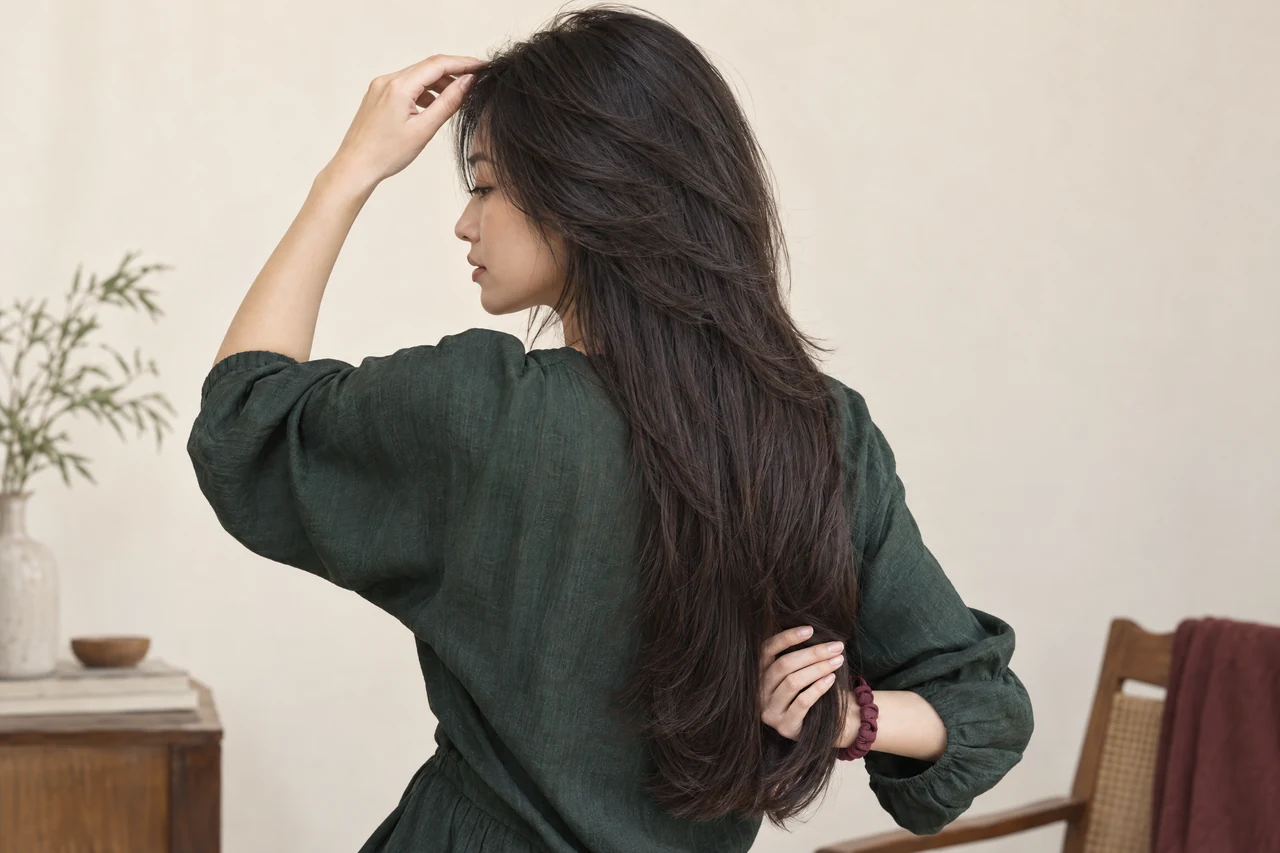
Map the two gathering paths using your everyday parting
Begin with hair in the dry shape you normally braid, rather than a specially straightened version you never wear at home. Make your usual front parting and show how you continue the division down the back. A side parting may leave different amounts of hair in the two halves; that is a reason to inspect both sides, not a reason to force a centre parting for the appointment. Keep the starting points where they normally sit and use your ordinary accessories.
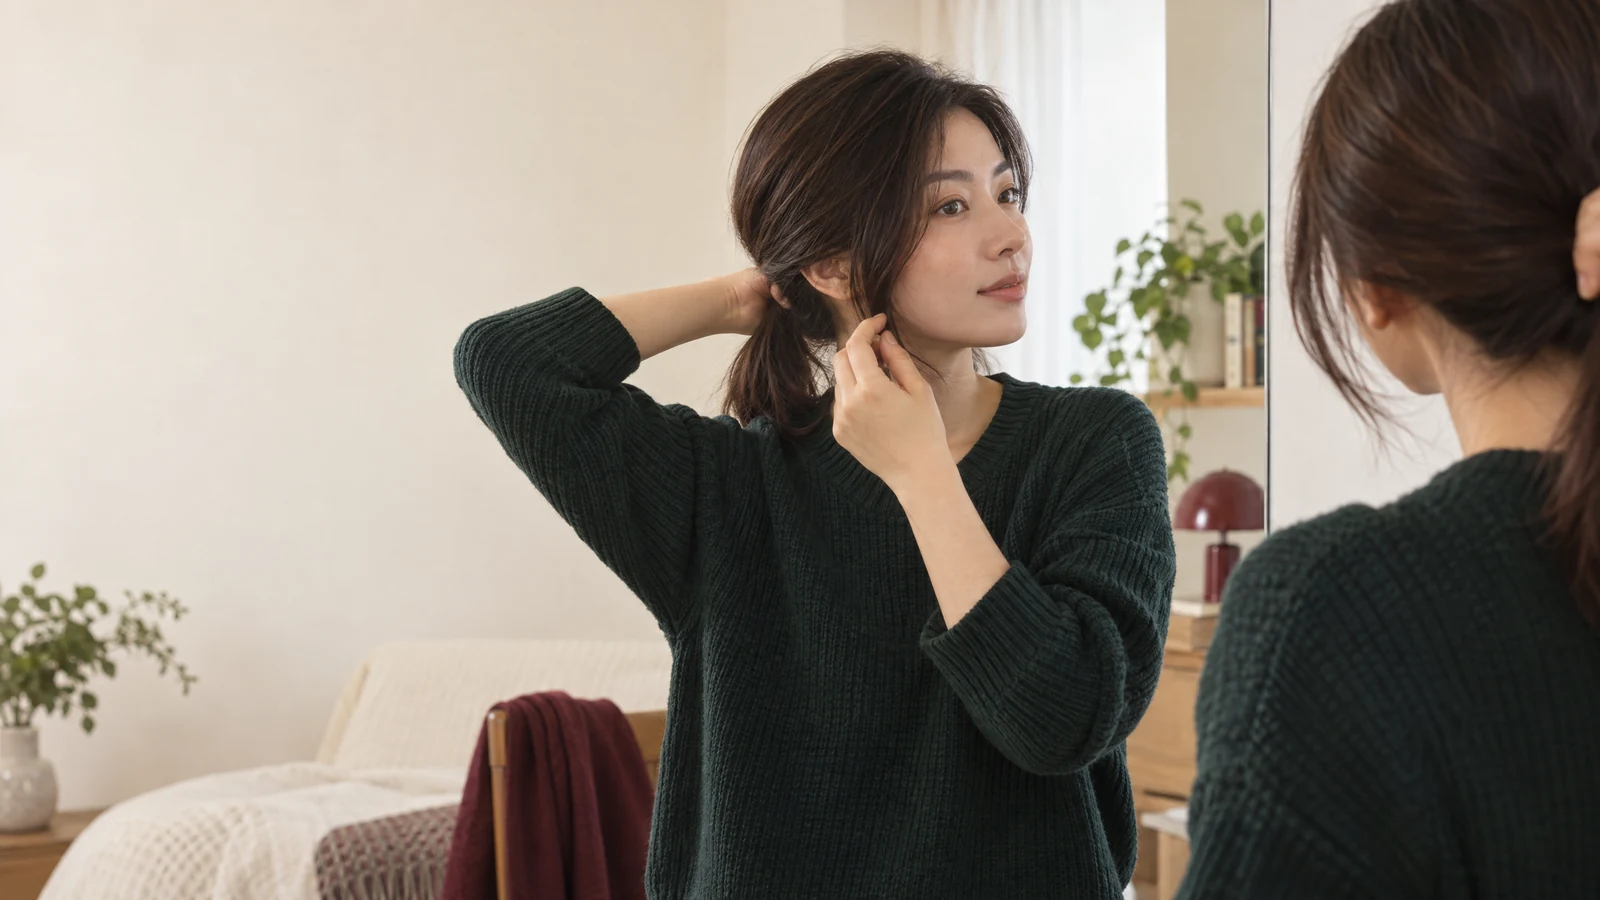
Gather each half loosely and trace the sections that join it. Look at the hair in front of the ear, above and behind it, then the lower nape beside the back division. Notice whether a strand is reaching only because you pull it across from the other half or hold the braid unusually high. That is not the same as retaining useful length for your normal arrangement. Ask for the cutting boundary to follow the intended side, without borrowing hair that belongs in the other plait.
Check the start and the woven length separately
A section can reach your hand at the braid's starting point yet have too little length left to stay woven. Make the plaits rather than stopping at two loose bunches, and observe where the shorter ends emerge. If you normally bring the completed plaits over your shoulders, do that too. A photograph from behind helps show the back division; a side photograph shows the ear area. Neither alone records the whole route each section must follow.
Keeping nape and side layers long enough for braids
At the nape, distinguish the fine edge hairs that naturally sit outside your style from a section of longer hair you expect to include. Do not promise that every tiny hair will disappear into a braid. Instead, identify the lower sections that currently gather comfortably and ask to preserve their working length. Watch them as you turn your head gently or look down. If an entire section falls out, discuss that boundary before accepting shorter decorative layers in the same area.
Around the ears, separate intentional face-framing pieces from hair you need inside the plait. A shorter front piece can look attractive loose but become an unwanted daily clipping task. Agree on which side sections may stay out and which should remain long enough to feed into the braid. The guide to long layers explains the difference between the shortest layers and the longest outline; apply that distinction here to the particular sections feeding each of your two plaits.
Use each side's shortest necessary section as the boundary
Do not judge success only by the easier side. Hair may fall differently around each ear, and your preferred parting may change the amount gathered. Ask the stylist to assess both sides in their normal dry direction. If you have existing short sections that already escape, identify them clearly: keeping the back long will not lengthen those pieces today. A more restrained cut elsewhere can protect the remaining useful hair while the short sections grow, without promising a growth timetable.
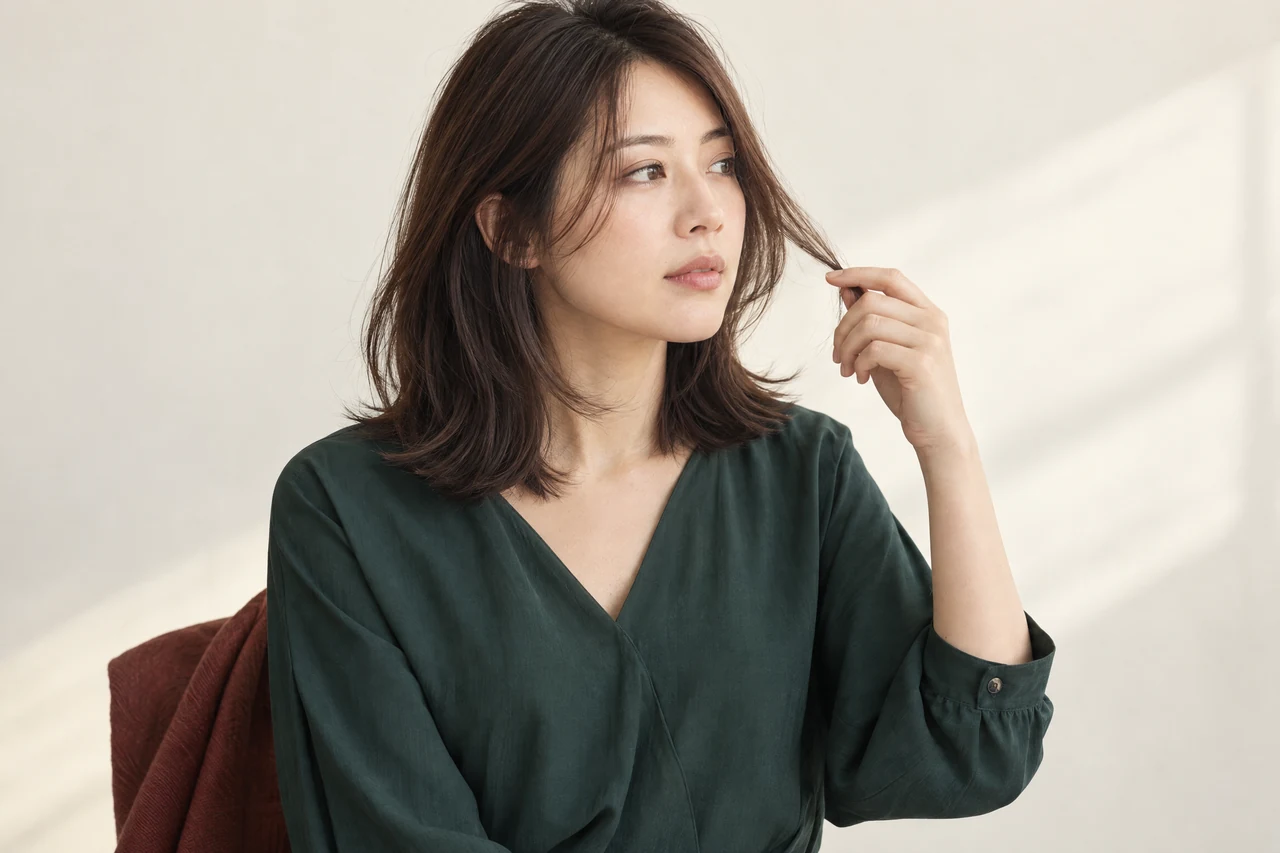
Compare loose-hair movement with braid continuity
Start with the trade-off you would notice most often. Shorter decorative layers may give you a more distinct change when your hair is loose, but their ends can leave the woven pattern earlier. Retaining more internal length can make the change subtler while keeping more hair available within each plait. Neither choice is automatically right. If plaits are your usual weekday style, an understated loose-hair result may be preferable to a dramatic reference that needs extra pins every morning.
Braid thickness matters as well as reach. Hair that ends at different points can leave a narrower remaining braid even when the first part stays gathered. Decide how much taper is acceptable and whether you want a useful woven tail below it. Fine hair may need a particularly cautious discussion of weight removal. Do not request extensive thinning merely because the back edge is staying long; ask how the proposed cutting changes would affect the amount of hair continuing through each plait.
Choose a smaller change when the priorities conflict
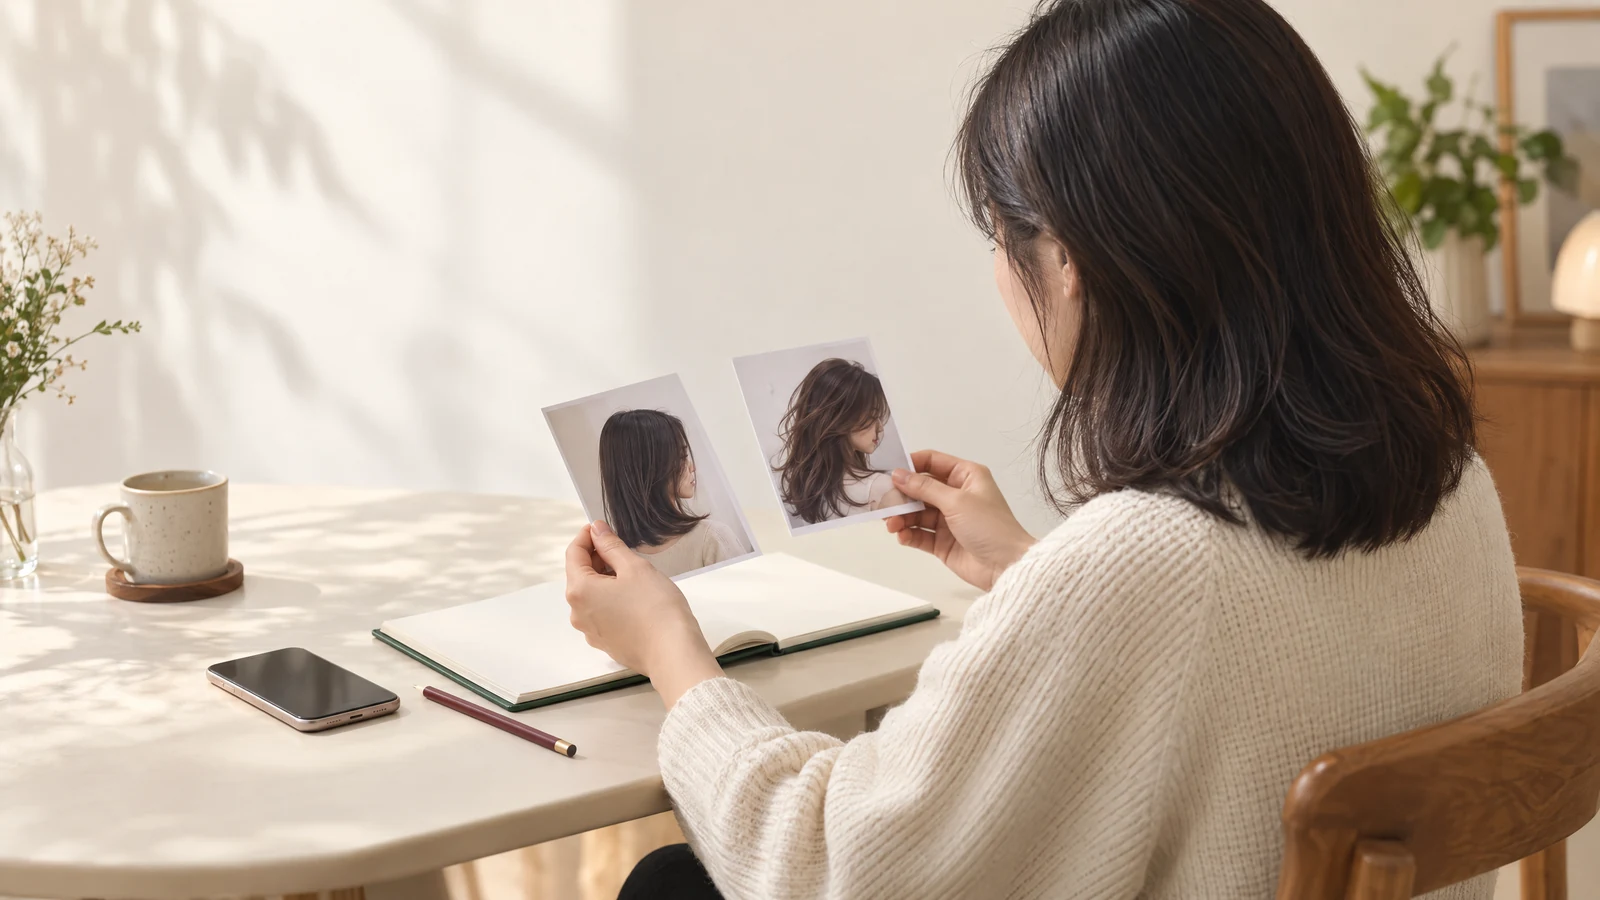
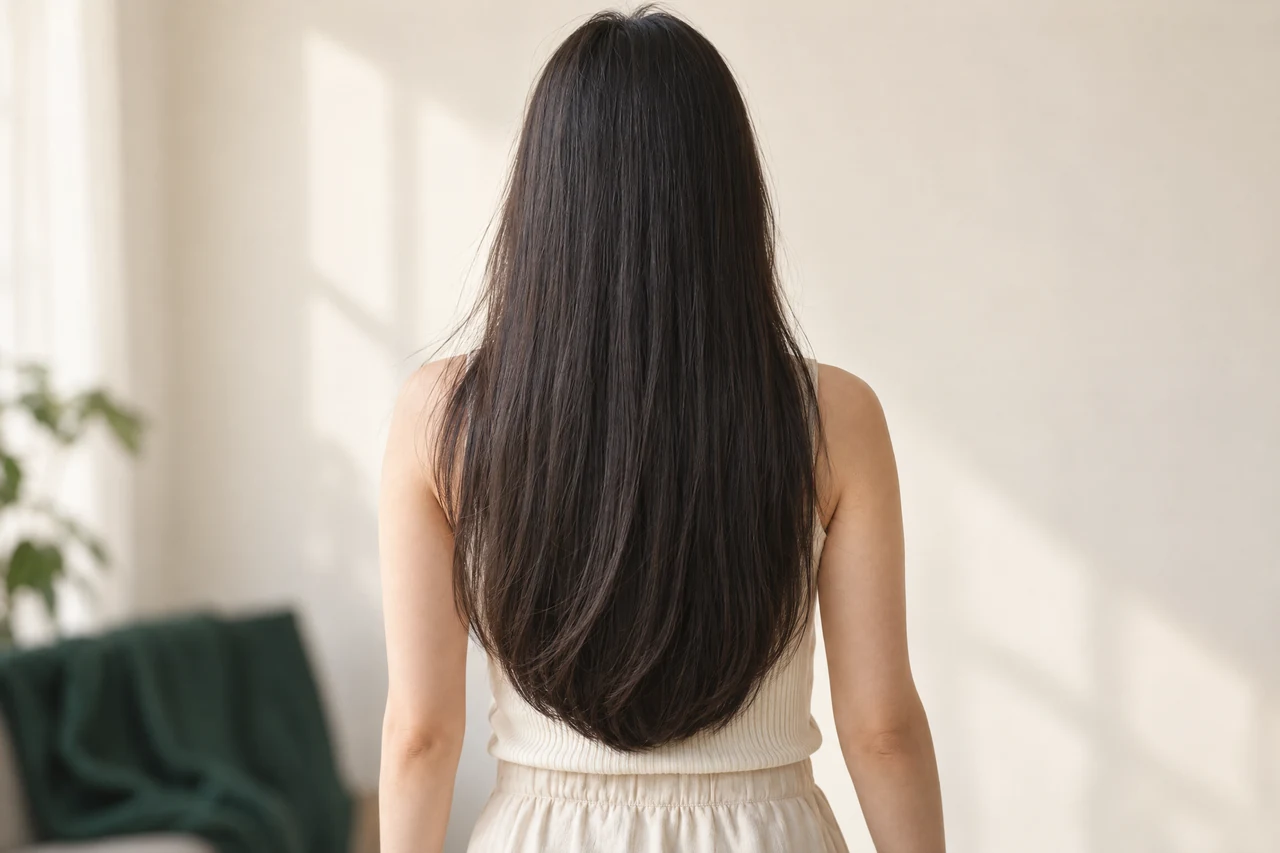
For a hypothetical reader who wears loose hair at weekends but two low plaits most workdays, preserving the ear-side and nape sections may take priority over a pronounced face frame. A reader happy to use clips may choose differently. The useful compromise is specific: retain the sections needed for the braids and discuss gentler movement elsewhere. The concept photographs illustrate length and outline only; they cannot prove that an equivalent cut will braid successfully on your own hair.
Test comfortable plaits without disguising the limitation
Use the grip and tension you are comfortable repeating at home. A test made to look perfectly smooth with unusually tight pulling gives the wrong picture of everyday usefulness. The American Academy of Dermatology's guidance on hairstyles that pull advises loosening braids, especially at the hairline, and says a painful hairstyle is too tight. A plait that only holds when it hurts is not a successful length compromise. Loosen or undo it rather than tightening to capture shorter pieces.
Test within the demands of your own day without turning the consultation into a promise of all-day security. Bring the plaits forward if that is how you wear them, turn your head comfortably and note the sections that escape. If you are preparing a haircut for an active lifestyle, explain the activity and accessories, but replace a general ponytail check with these actual divided plaits. Success in a seated test still cannot guarantee how the style will behave during every movement or weather condition.
Know what a haircut cannot resolve
Different dry textures, an unfamiliar braiding technique or existing short pieces can change the result even with carefully retained lengths. A haircut cannot restore length already missing, and tighter tension is not a substitute. If you notice hair loss, seek advice from a dermatologist rather than treating a new cut as the solution. Pain, stinging or scalp crusts are reasons to stop the pulling style; do not continue a braid test through discomfort to obtain a neater photograph.
Bring a clear braid-preserving brief to your haircut enquiry
Prepare pictures of your hair loose and in the two plaits you actually make, including the back division and both ear areas. Bring your usual ties and any clips you genuinely accept using. Describe the loose-hair change you want, then name the sections that must remain functional. When discussing a women's haircut, ask to confirm the intended shortest layers, retained perimeter and opportunity to check your usual plaits. Those concrete requests are more useful than asking for a universally 'braid-friendly' style.
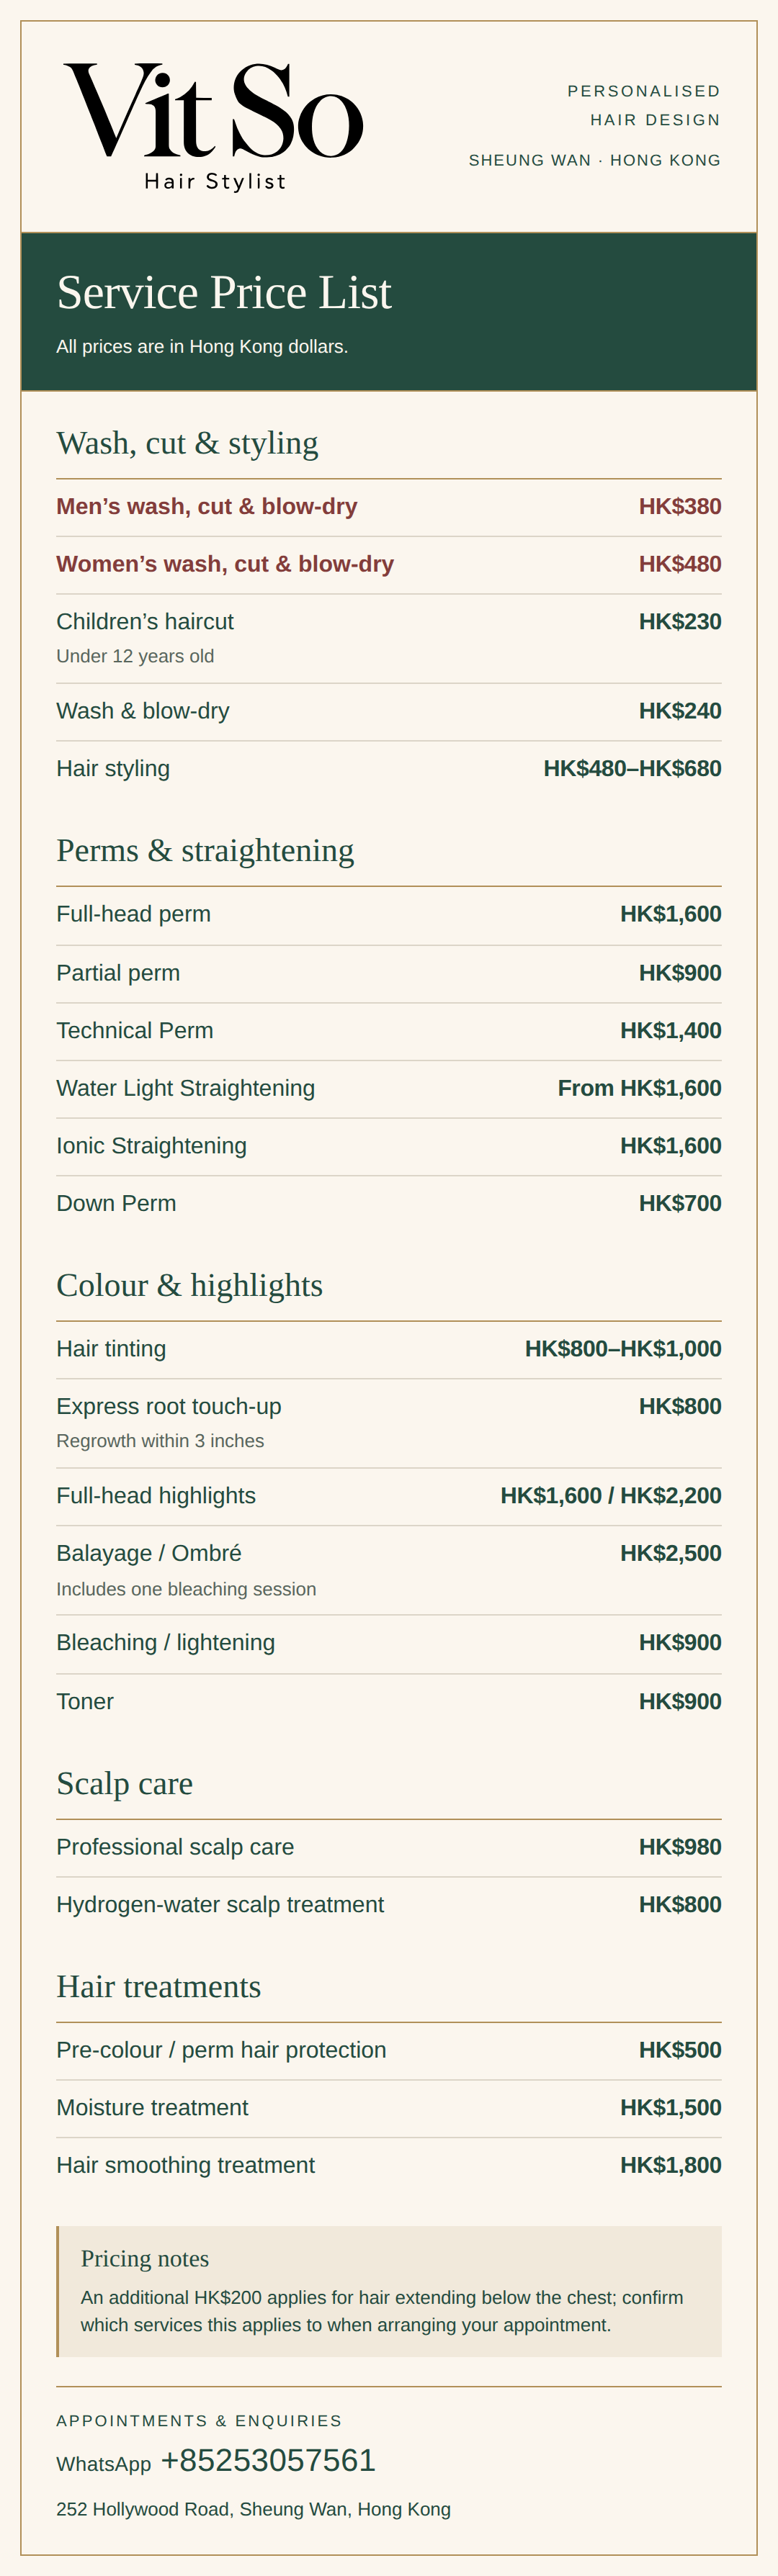
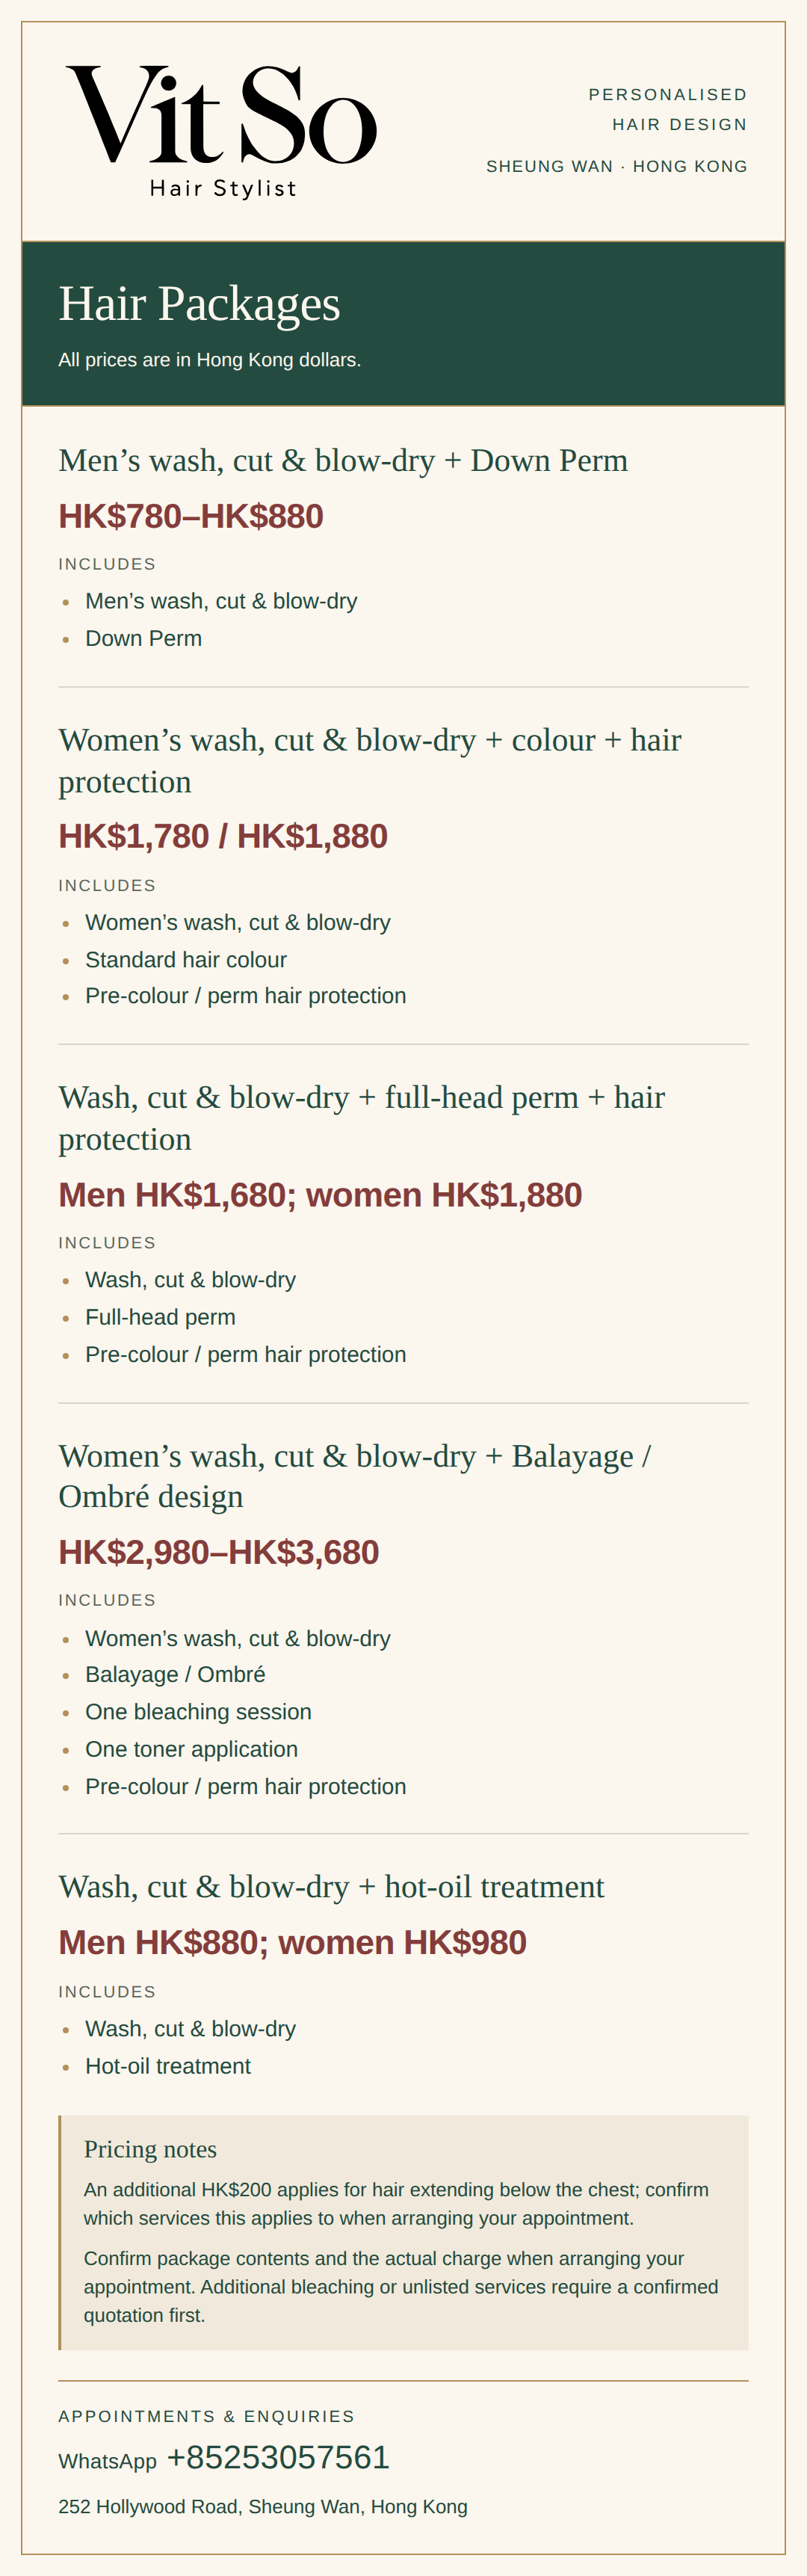
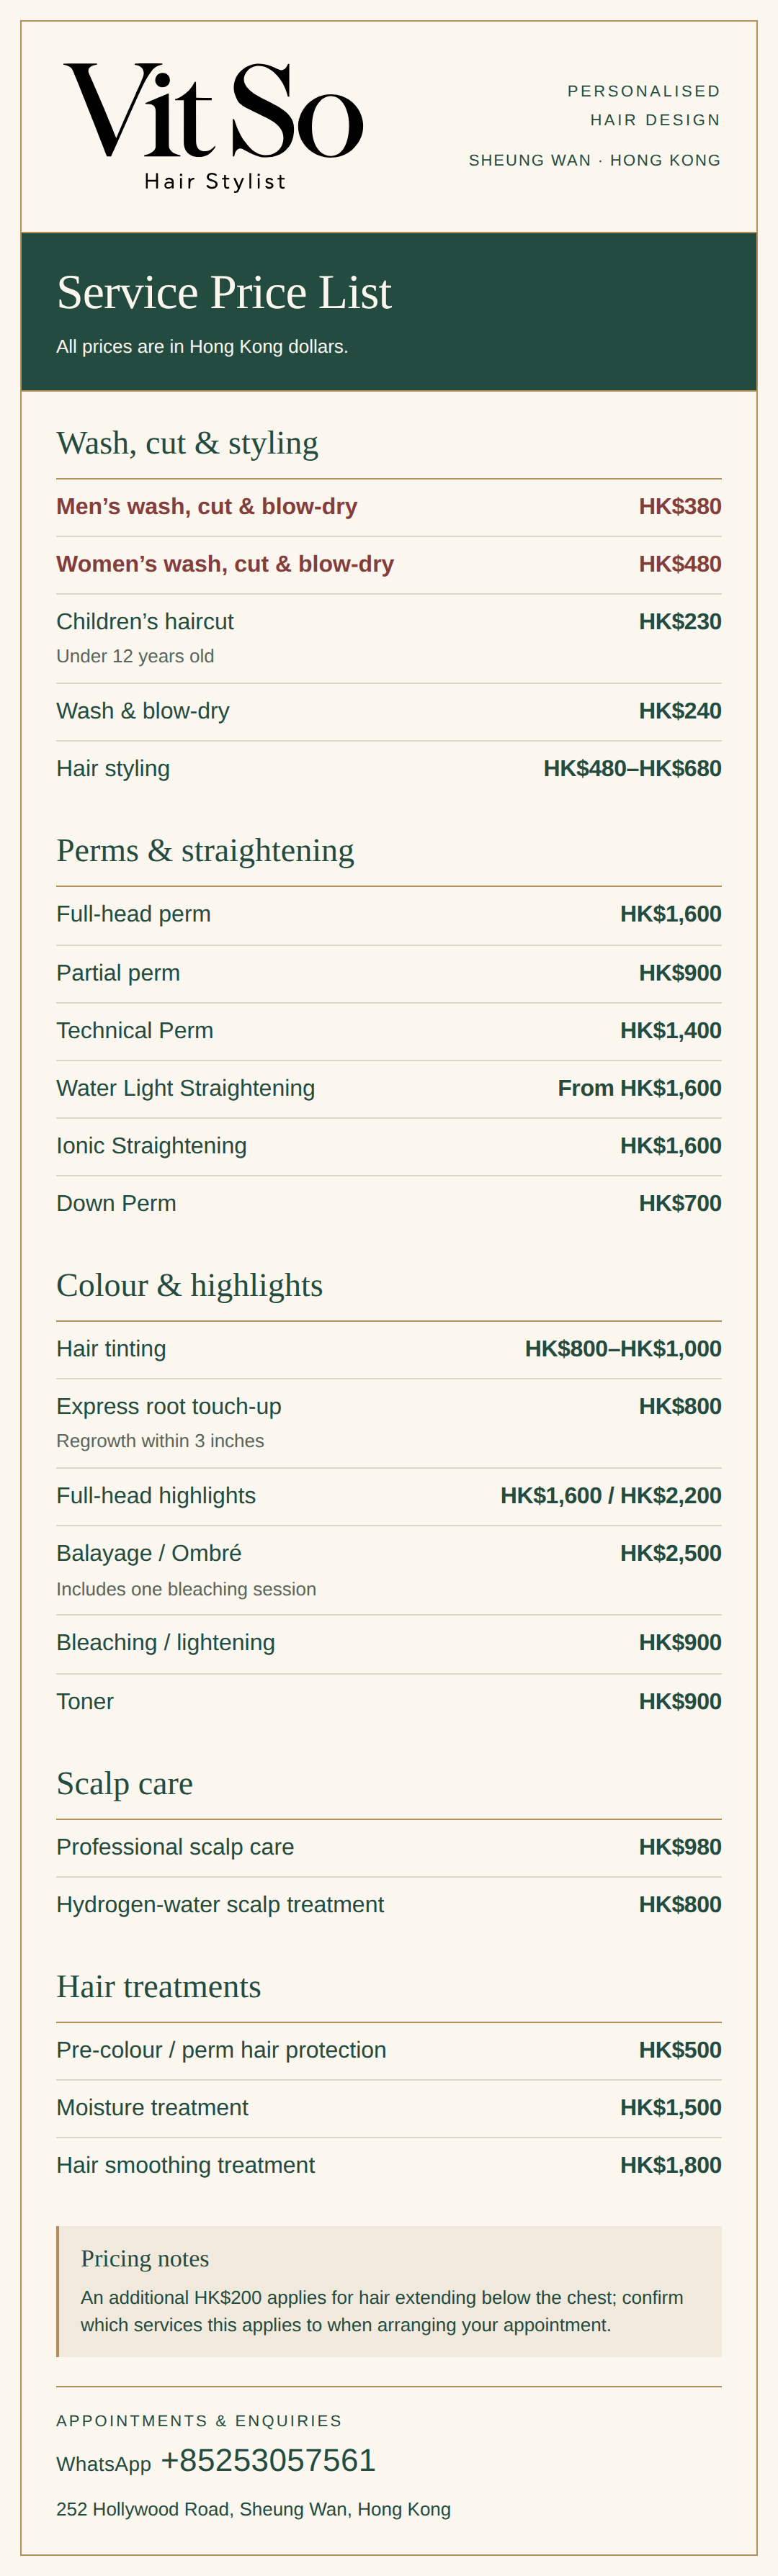
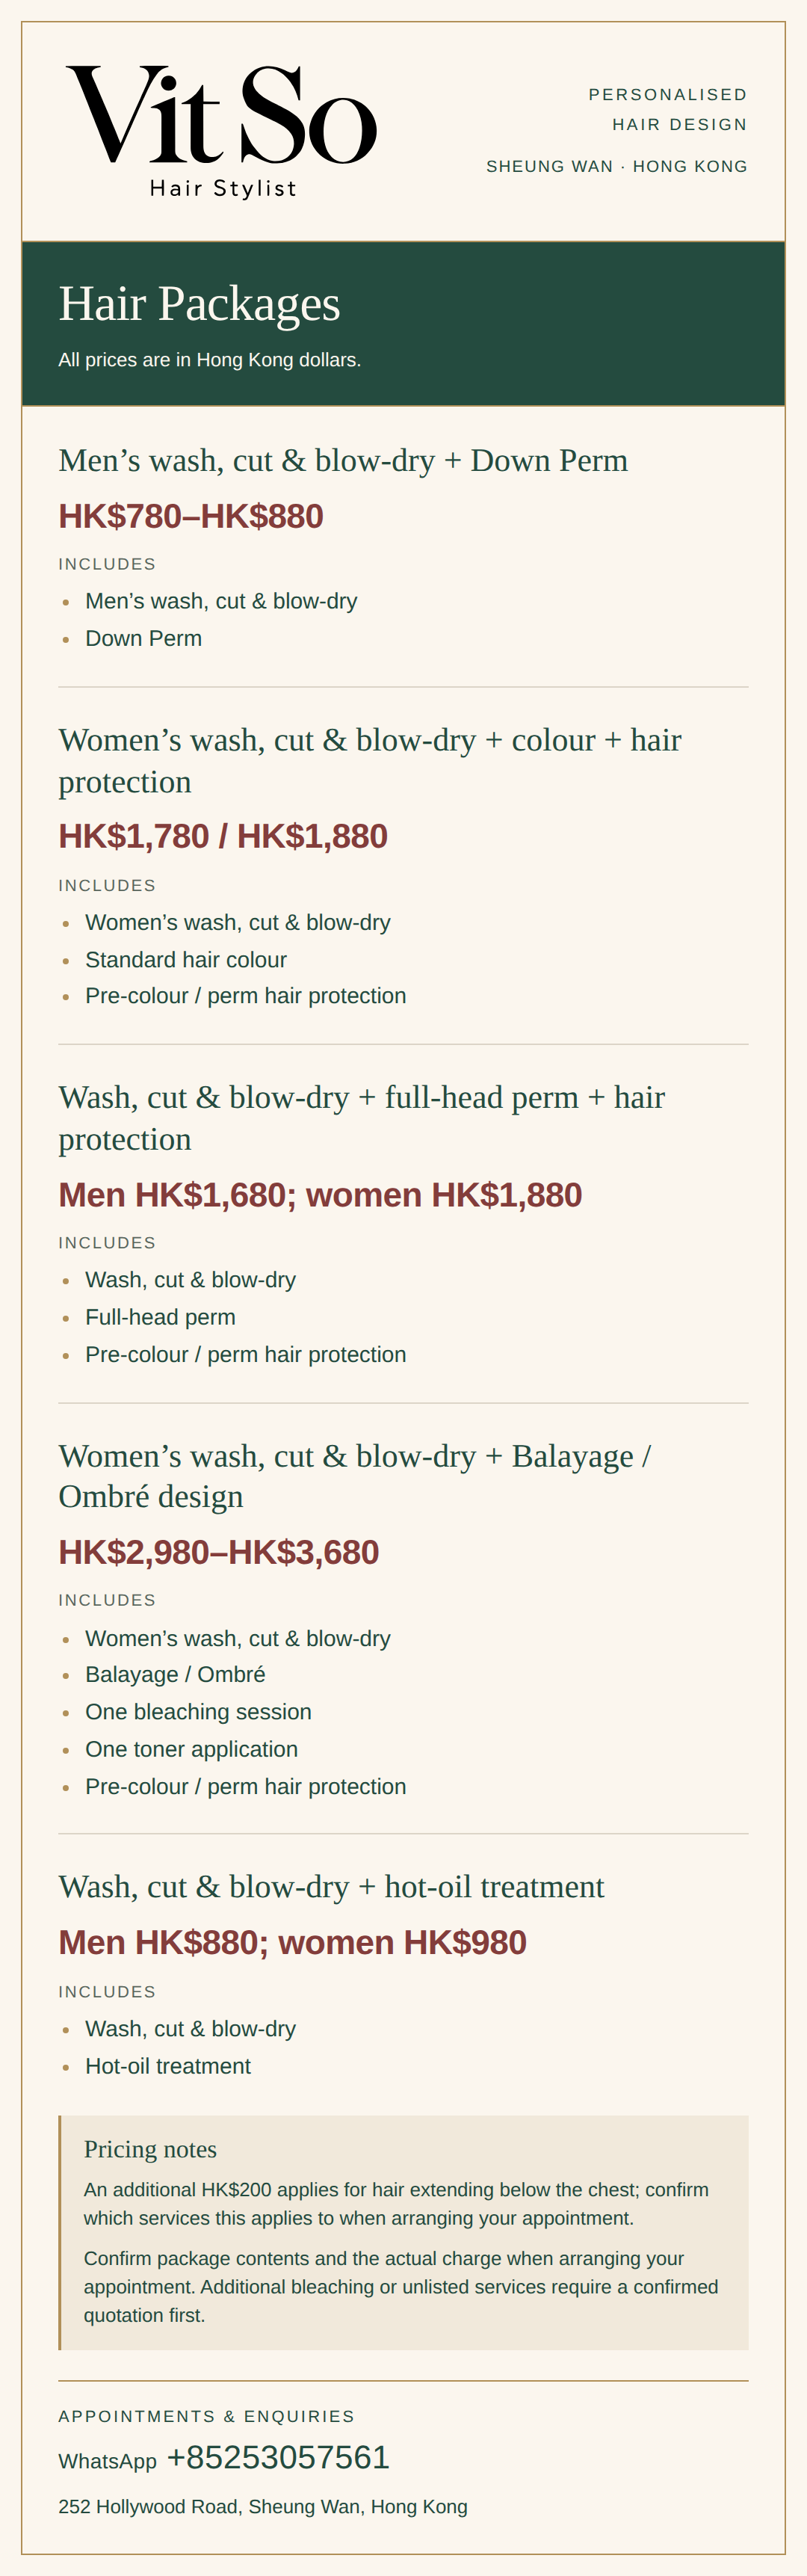
The confirmed price for women's wash, cut & blow-dry is HK$480. An additional HK$200 applies for hair extending below the chest; confirm which services this applies to when arranging your appointment. Ask about your intended service and actual charge rather than assuming that a separate braiding service or extra styling is included. A WhatsApp enquiry is a request to discuss and confirm arrangements, not an instant booking. If consultation language matters to you, confirm it directly rather than relying on the English-language website.
Agree on the compromise before the first shorter section is cut
Use the preparation checklist below to make the conversation concrete. If the shortest proposed layers would no longer join your usual plaits comfortably, decide whether to keep them longer, accept intentional loose pieces or postpone the more dramatic change. Ask to review the dry result and recreate both plaits where practical. A before-cut demonstration establishes your needs, but it cannot guarantee the finished outcome. The important decision is which function you are protecting and what change you are willing to give up for it.
Compare each proposed layer change against the actual plaits, not just the loose silhouette.
| Cutting choice | Possible braid trade-off | What to check |
|---|---|---|
| Retain the longest back edge only | Short internal pieces may still escape | Inspect the nape and ear-side lengths separately |
| Add shorter face-framing layers | Front sections may need to stay outside | Agree which pieces can be intentionally loose |
| Retain more internal side length | Loose-hair movement may be subtler | Make both plaits with the ordinary parting |
| Remove more weight through the lengths | The woven tail may become narrower | Compare taper and the remaining braid length |
| Postpone shortening existing vulnerable sections | The style change may be less dramatic | Protect useful length while shorter pieces grow |
Your preparation checklist
- Photograph both plaits from behind with your normal back division visible.
- Include each ear area so the shorter side pieces can be identified.
- Bring your everyday hair ties and only the clips you willingly use.
- Explain whether you braid below the ears or add sections along the scalp.
- Name the nape and side sections that must stay inside each plait.
- Choose whether loose-hair movement or fuller braid tails takes priority.
Frequently asked questions
Does keeping my hair below the shoulders guarantee two plaits?
No. That describes the longest outline, not the shortest internal pieces or their route into each braid. Demonstrate both plaits with your normal division and comfortable tension. Side and nape sections need their own assessment, even when the longest back hair is well below your shoulders.
Would French or Dutch plaits solve the problem of short layers?
Adding hair progressively along the scalp changes where sections enter the braid, so assess that arrangement separately if you already wear it. It is not an automatic substitute for your preferred low plaits or a reason to accept painful pulling. Tell the stylist which technique you actually use and how much daily braiding effort you want.
Can I keep a few loose face-framing pieces and still call the cut practical?
Yes, if leaving those pieces out is a deliberate choice you are happy to repeat. Separate them from side sections that need to stay gathered. If loose pieces annoy you at work or during activity, preserve their useful length instead of assuming that clips or stronger styling products will be an acceptable daily solution.
Enquire about layers that respect your two everyday plaits
Send Vit So a WhatsApp enquiry on +85253057561 with current loose-hair and plait photographs. Mention your usual parting, braid starting points and the sections you need to retain. The address is 252 Hollywood Road, Sheung Wan, Hong Kong. Ask to confirm the service scope, actual charge, appointment availability and preferred consultation language before making arrangements.
Start your WhatsApp enquirySources & further reading
- MHDPro: Long Layers – The Ultimate Guide to Long Layered Haircuts
Professional hairdressing education explaining internal weight removal and the distinction between layered lengths and a retained perimeter. It does not provide a guaranteed minimum length for two plaits.
- American Academy of Dermatology: Hairstyles that pull can lead to hair loss
Dermatologist guidance on loosening braids, recognising painful tension and seeking medical advice for hair loss. Relevant to keeping the braid demonstration comfortable, not a claim that a haircut prevents hair loss.