




Read a shag haircut through its layers
A short shag can place visible shorter layers within a compact outline, while a shaggy lob retains a longer perimeter with a looser layered finish. Compare the shortest top pieces, the side connection and the weight left at the ends. The useful question is which parts of the silhouette you want, not only whether the photograph is labelled shag.
Start at the crown, the area towards the back of the top of your head. Notice whether its shorter pieces sit close to the head or appear lifted in the photograph. Then follow the hair towards the ears and shoulders. Do the lengths connect gradually, or do distinct shorter pieces sit over a much longer lower section? This gives you something more useful to discuss than a request for a messy finish.
A shag-inspired outline can feel loose without leaving every edge extremely thin. You might like movement around the cheekbones but want the hair behind your shoulders to remain substantial. Say which detail attracted you first. If your main aim is flowing, length-preserving movement rather than noticeably short upper layers, a softer layered shape may be the closer starting point.
Continue with layered haircut for that specific comparison and the preparation questions it raises.
A shag haircut at shorter or longer lengths
With a short shag, check how much coverage remains around the ears and nape; the compact perimeter makes those boundaries especially noticeable. With a shaggy lob, check where the longest ends meet the shoulders and how the front connects to them. A photograph with outward-flipped ends can suggest a wider outline than the same lengths worn straighter. Compare the underlying length before deciding that you want the photographed width.

A wolf cut and the front-to-back contrast
A wolf cut commonly combines shag-like layers with a stronger difference between shorter upper areas and a longer back. Decide how visible that contrast should be from the side. Keeping a longer back does not mean every front or upper piece stays long; agree on the zones that can change before committing to a more pronounced outline.
John Frieda's Guide to Wolf Cuts describes the shape as a combination of shag and mullet elements, usually with shorter top and crown areas and longer sides and back. That description is a helpful starting point, not a requirement to copy a single outline. Ask to compare a softer connection around the ears with a version that makes the longer back more obvious.
Look at a side view before making the decision. A front-facing picture can hide how far the back extends below the side pieces. If you like length behind the shoulders but dislike a narrow-looking lower section, name both preferences. The goal is not maximum contrast by default; it is enough contrast to express the shape you actually want to wear.
A wolf cut with length retained at the back
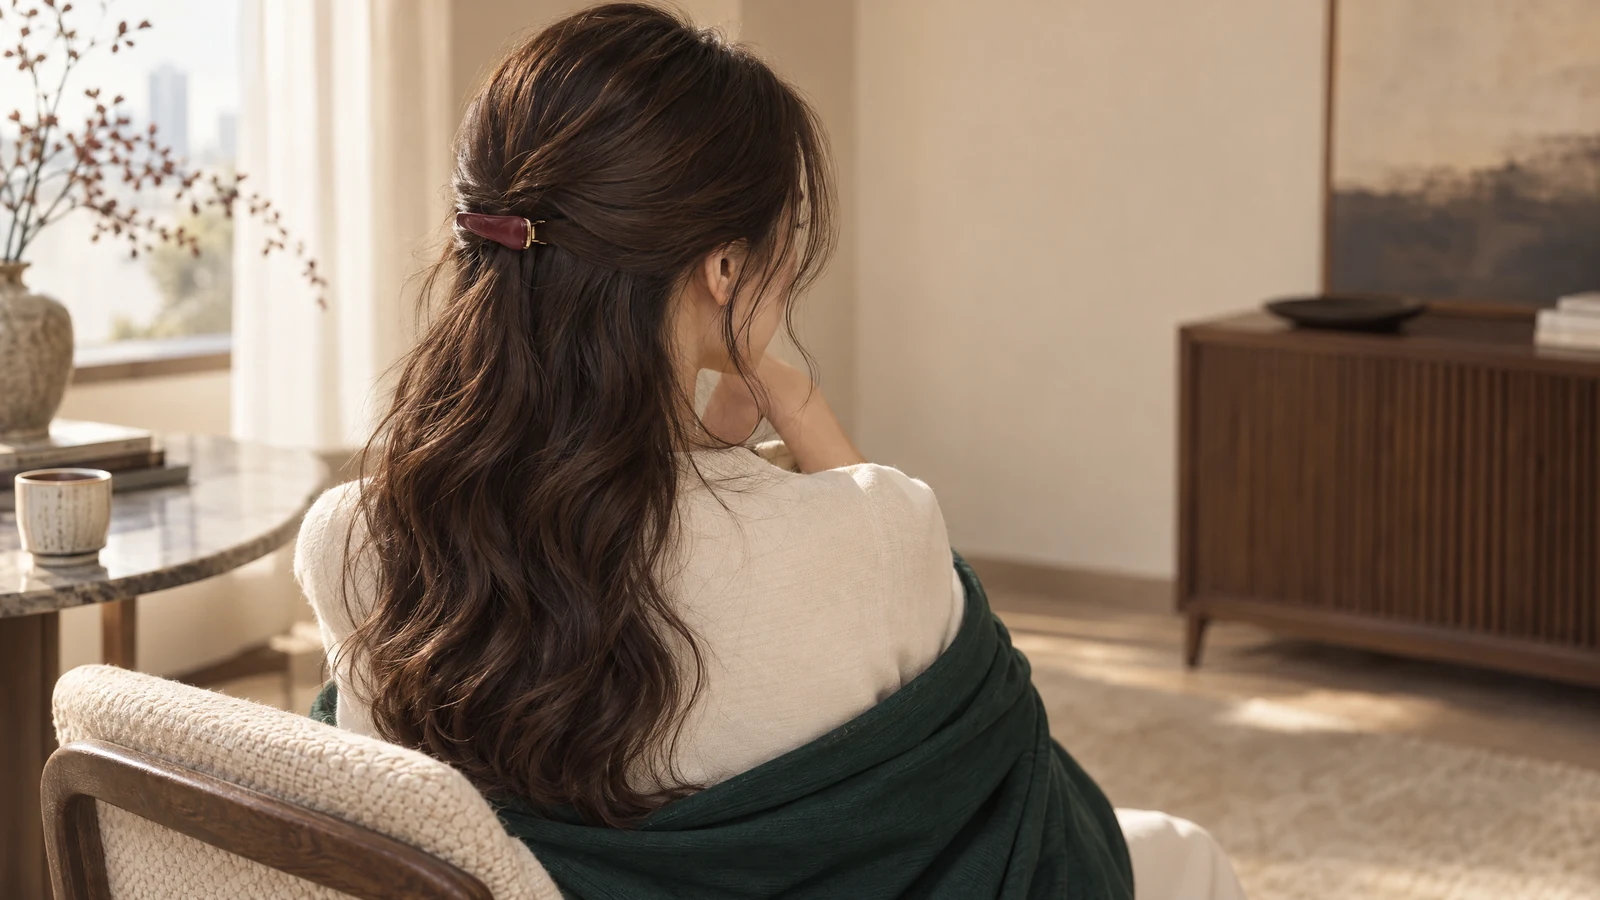
Retaining the back is a separate agreement from retaining the front. Point to the longest edge you want to keep, then identify the shortest acceptable side pieces. A fringe is optional, as the John Frieda guide also notes. If the front of your reference matters most, compare curtain bangs before deciding how much forehead coverage to add. Leaving the fringe longer can be a deliberate choice rather than an incomplete version of the cut.
Keep enough weight for the finish you want
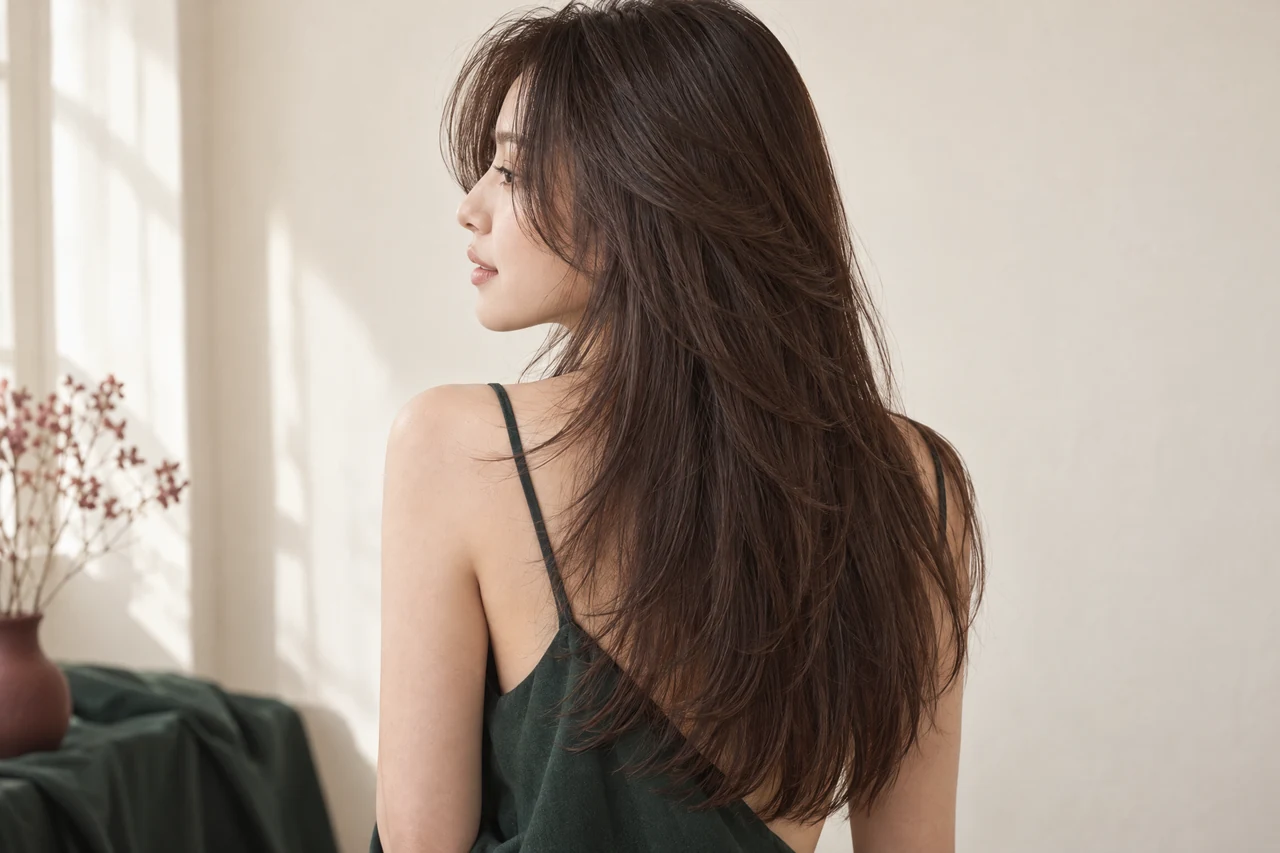
Visible separation can make the outline feel lighter, but removing too much end weight may change the perimeter you liked in the first place. Compare the upper movement with the lower edge as separate priorities. Hair density and natural direction influence that balance, so a highly textured reference should not be treated as a universal prescription.
End weight means the amount of hair remaining in the lower outline, not simply how long the longest strand is. A back section can stay long while looking much less full because more hair above it has been shortened. If a continuous bottom edge matters to you, explain that you want to see it when your hair falls normally, not only when every piece is arranged for a photograph.
For hair that already looks sparse through the ends, start by asking what can be changed above that edge without making it look more transparent. For denser hair, identify where the bulk bothers you: beside the ears, behind the head or throughout the lower lengths. Those are different design questions. Wanting a lighter side outline does not automatically mean you want weight removed everywhere.
Continue with layering vs thinning out hair for that specific comparison and the preparation questions it raises.
Piece separation and a substantial bottom edge
Describe separation in terms of the area you want to see moving. You may welcome distinct face-framing pieces while preferring the back ends to fall together. Ask which shorter layers will reach the lower outline and which will sit above it. This helps explain the trade-off between visible upper texture and the fullness you want to retain, without prescribing a cutting tool or requesting indiscriminate thinning.
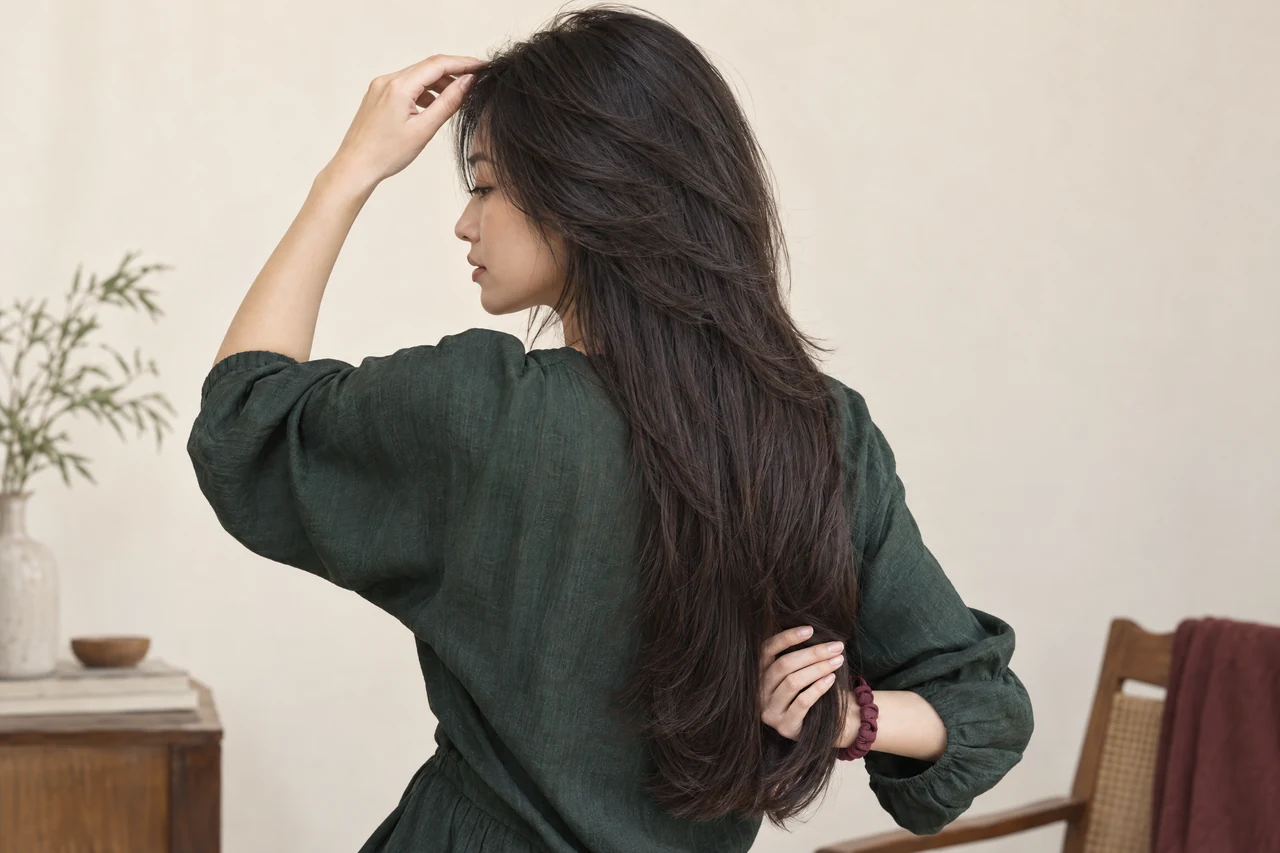
Separate the haircut from styled texture
A reference may use waves, products or heat styling to show separated pieces. Explain what your hair does after ordinary drying and which styling steps you will repeat at home. The cut establishes relative lengths and an outline; it does not itself confirm a perm or guarantee the movement and volume seen in a styled photograph.
On naturally straight hair, shorter pieces may remain relatively straight unless you give them direction while drying or use styling tools. On wavy hair, the bends may differ between the crown, front and back. Take a picture after your usual drying routine, with the usual parting, so the discussion starts from the pattern you live with. Do not choose the amount of layering solely from a heavily curled reference.
Continue with haircut for naturally wavy hair for that specific comparison and the preparation questions it raises.
For heat-based finishing, the American Academy of Dermatology's hair-styling advice recommends letting hair partially air-dry before styling and reducing blow-drying frequency to help limit damage. It advises using flat irons on dry hair at a low or medium heat setting. Apply that guidance to your styling routine rather than treating frequent hot-tool use as a necessary part of wearing layered hair.
Natural bends, blow-drying and the photographed finish
Ask for an explanation of the everyday finish you can reasonably repeat: simply drying with your usual parting, directing the front away from the face, or deliberately adding waves for an occasion. These involve different effort. If you enjoy crown movement but rarely style before leaving home, prioritise a shape you like without exaggerated lift. A polished salon finish can demonstrate another option without becoming the standard you must recreate every morning.
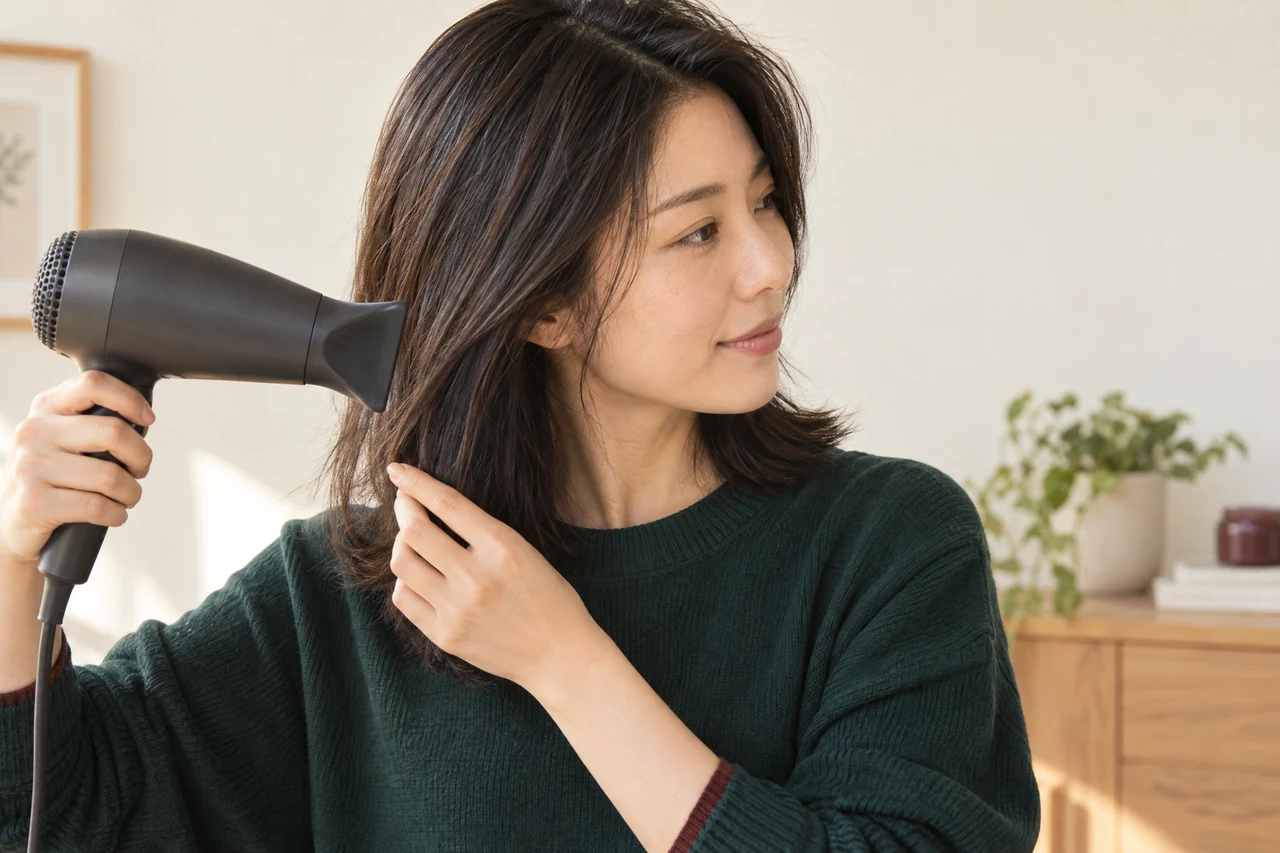
Check the layers when your hair is tied up
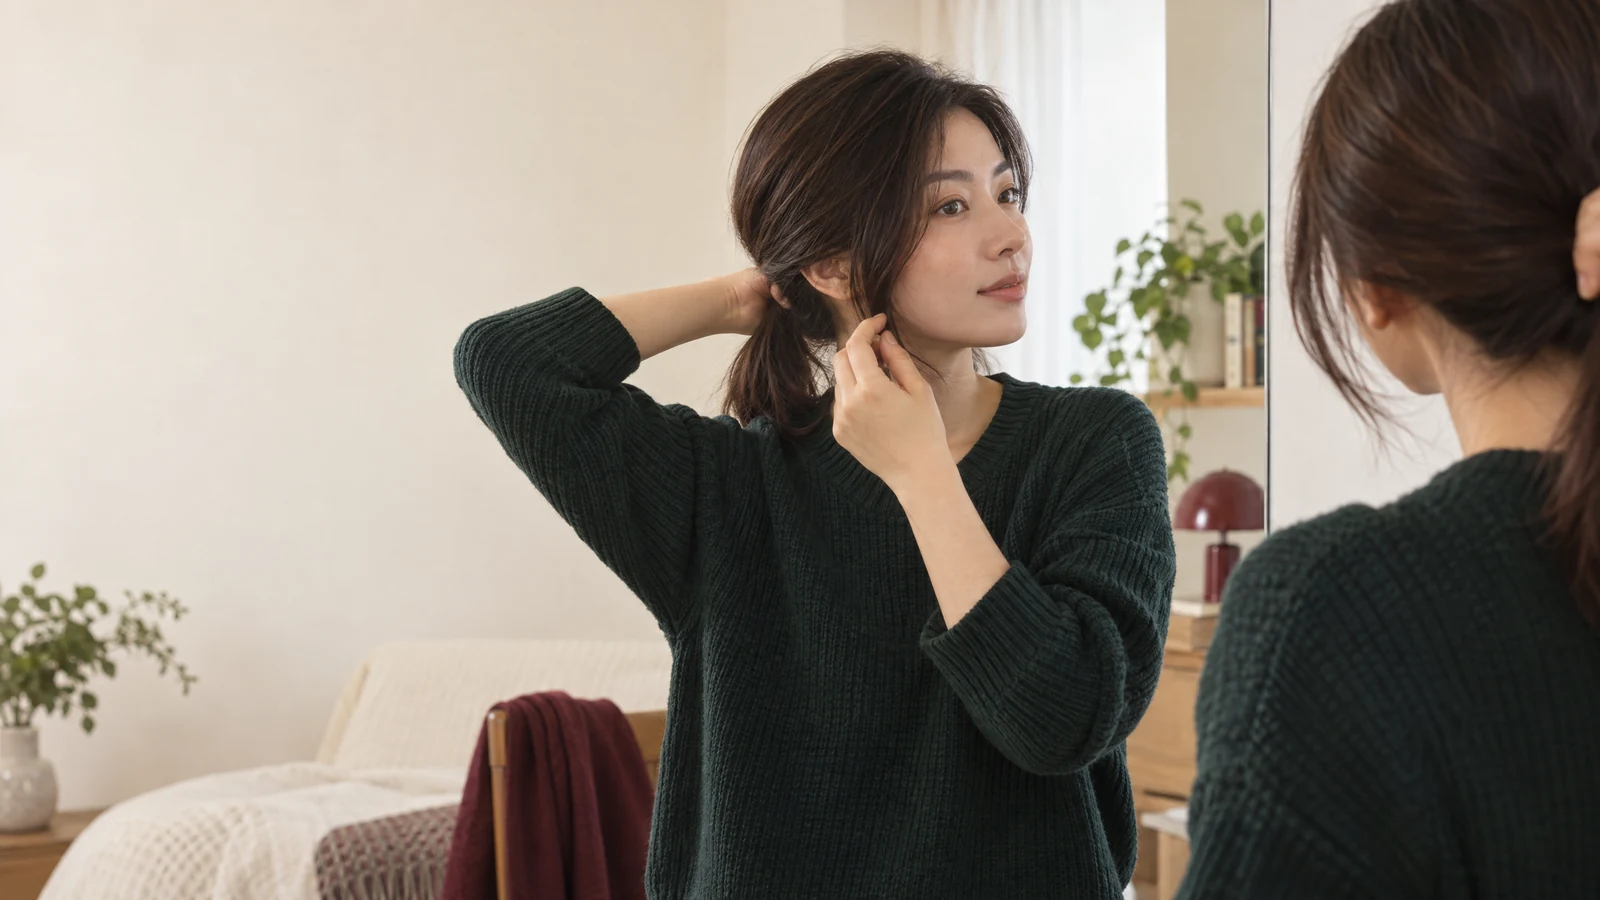
Long hair at the back does not mean every shorter piece will reach a ponytail. Before choosing pronounced upper layers, show your normal tie-up position and mention whether loose strands bother you during exercise, work or commuting. A few face-framing pieces might be welcome; several sections falling around your ears might require more clips than you want to use.
Test the practical boundary with your current hair. Gather it where you normally wear it and identify the pieces that already escape. Then discuss which of those can become shorter and which need to stay long enough to tuck away. This is particularly useful when you want the appearance of a wolf cut but also need a secure, simple everyday tie-up.
Plan for the shortest pieces to grow
If you later want a smoother outline, growing the shorter upper pieces may matter more than preserving every centimetre at the back. Explain whether your longer-term preference is to keep the contrast or gradually reduce it. A future trim can then address the area that bothers you without automatically shortening all the retained length.

Turn the reference into a clear cutting brief
Bring a front view and a side or back view of the shape you prefer. Mark the shortest piece you are comfortable with and the longest edge you want to retain. Include a feature you do not want, such as an extremely thin back section or a fringe that falls into your eyes. These boundaries help resolve differences between photographs carrying the same style name.
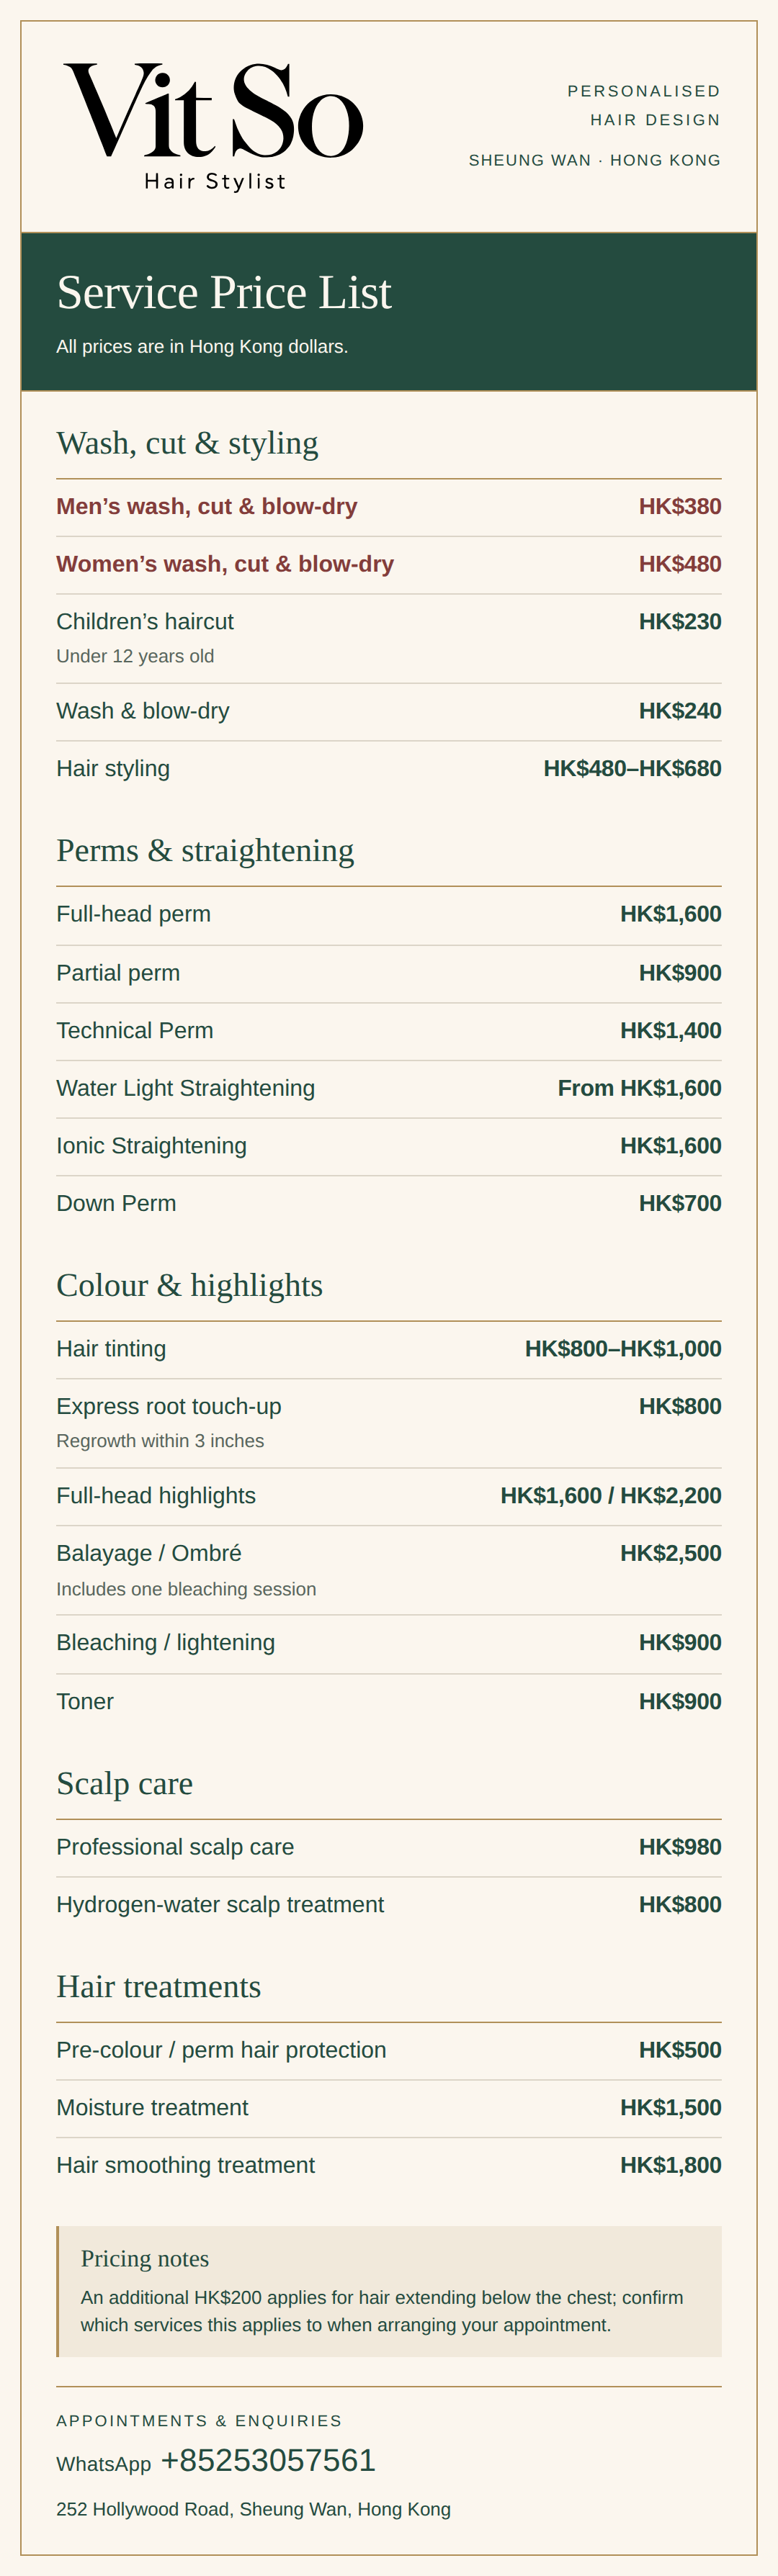
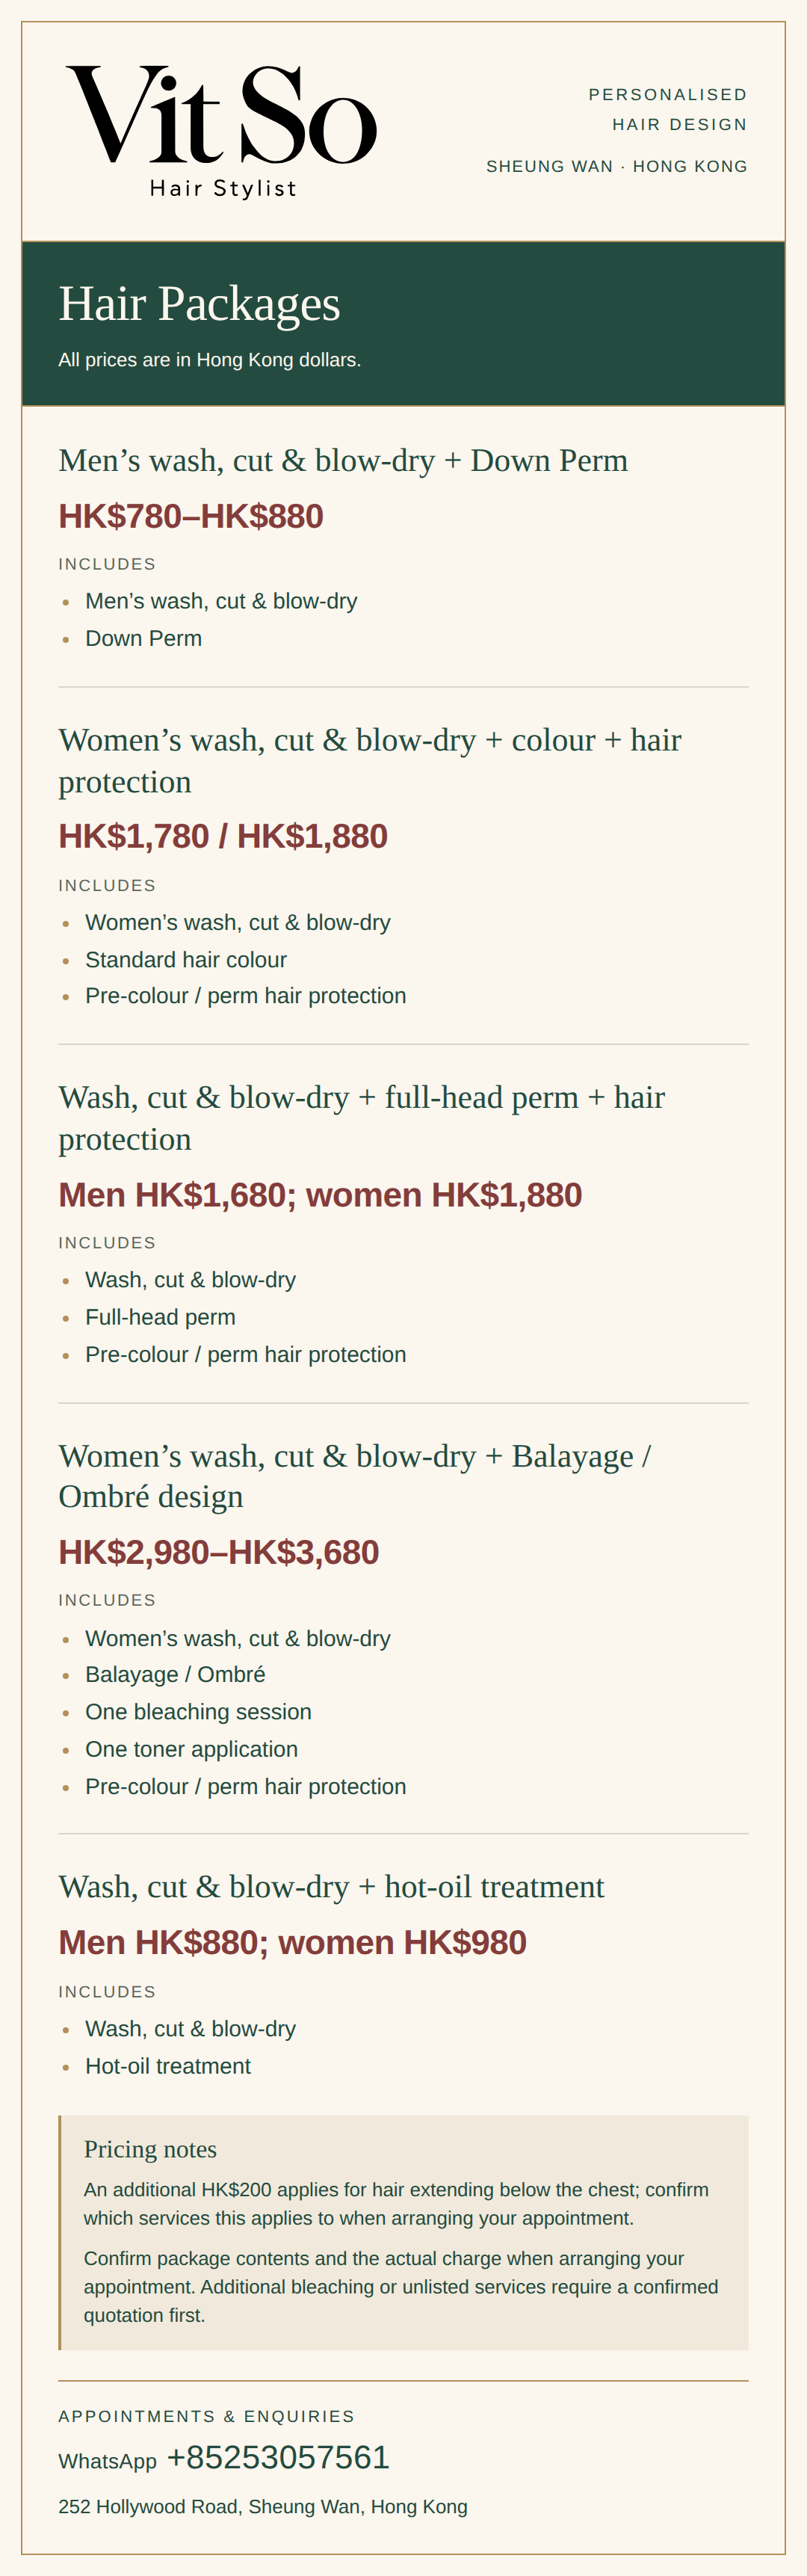
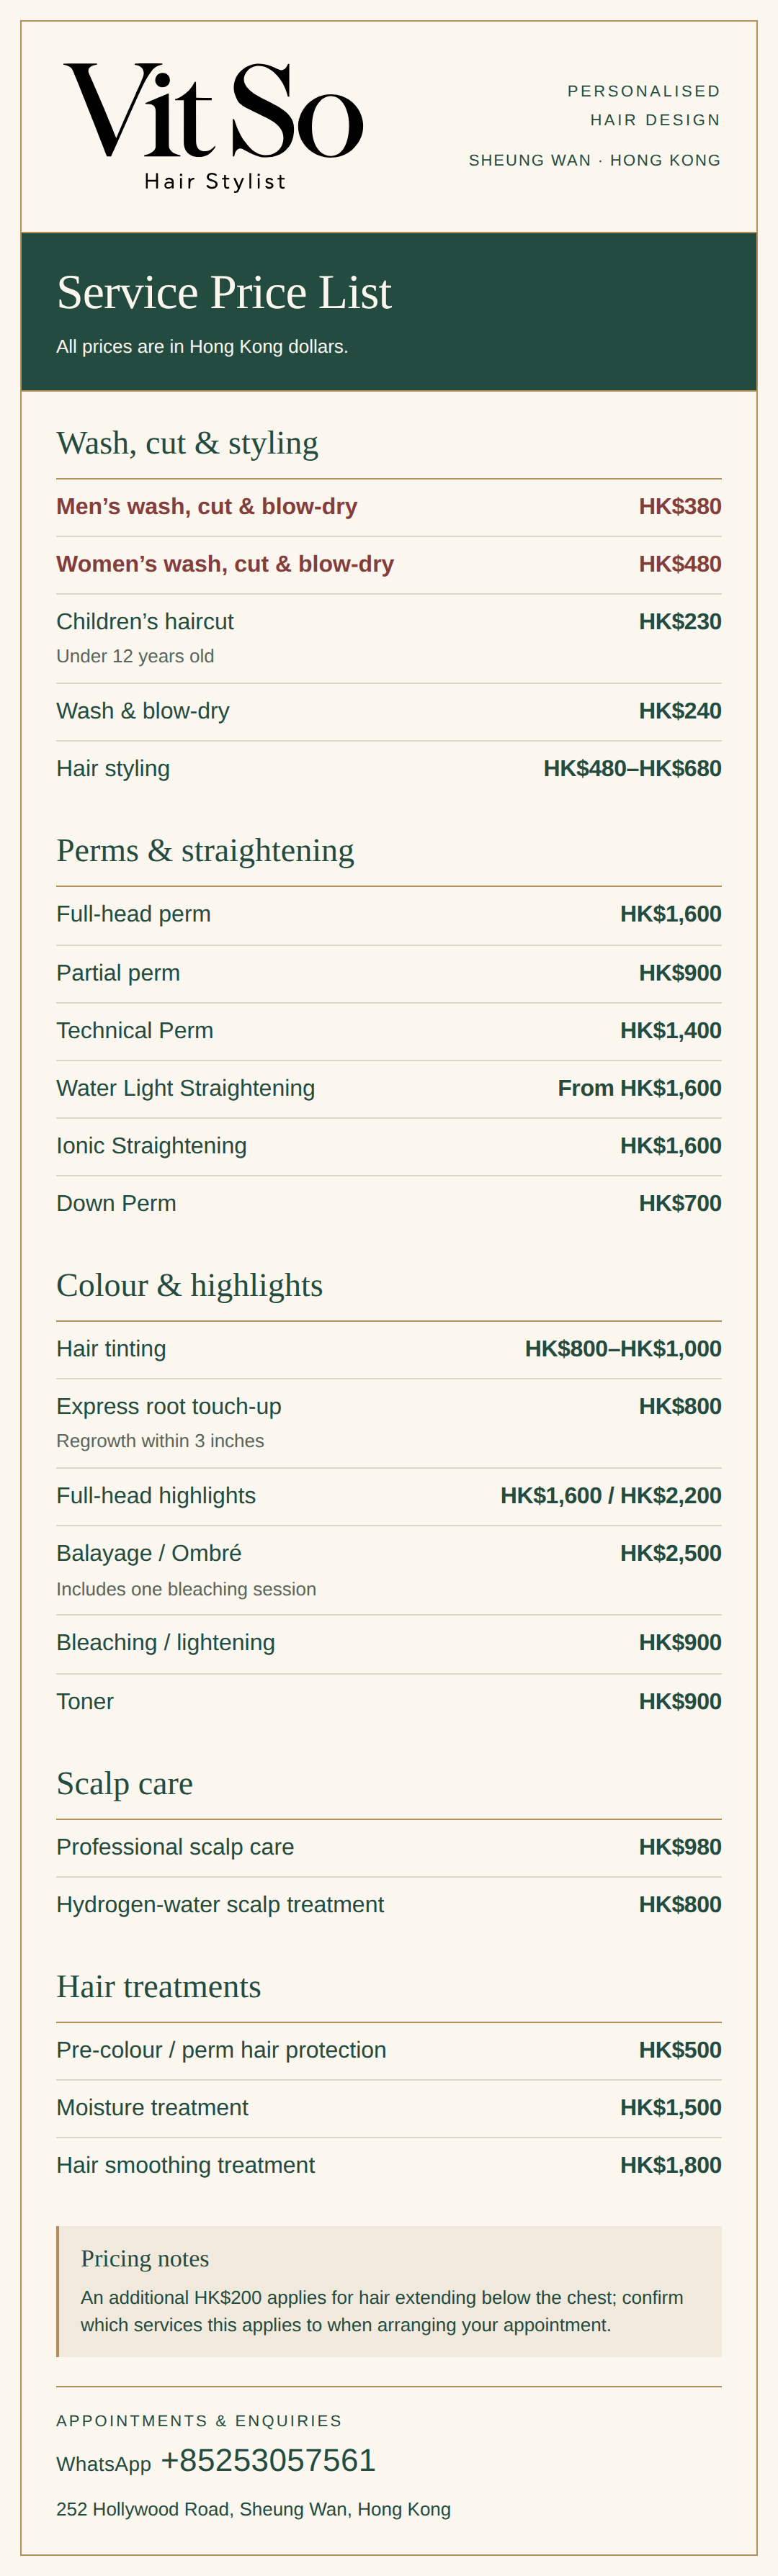
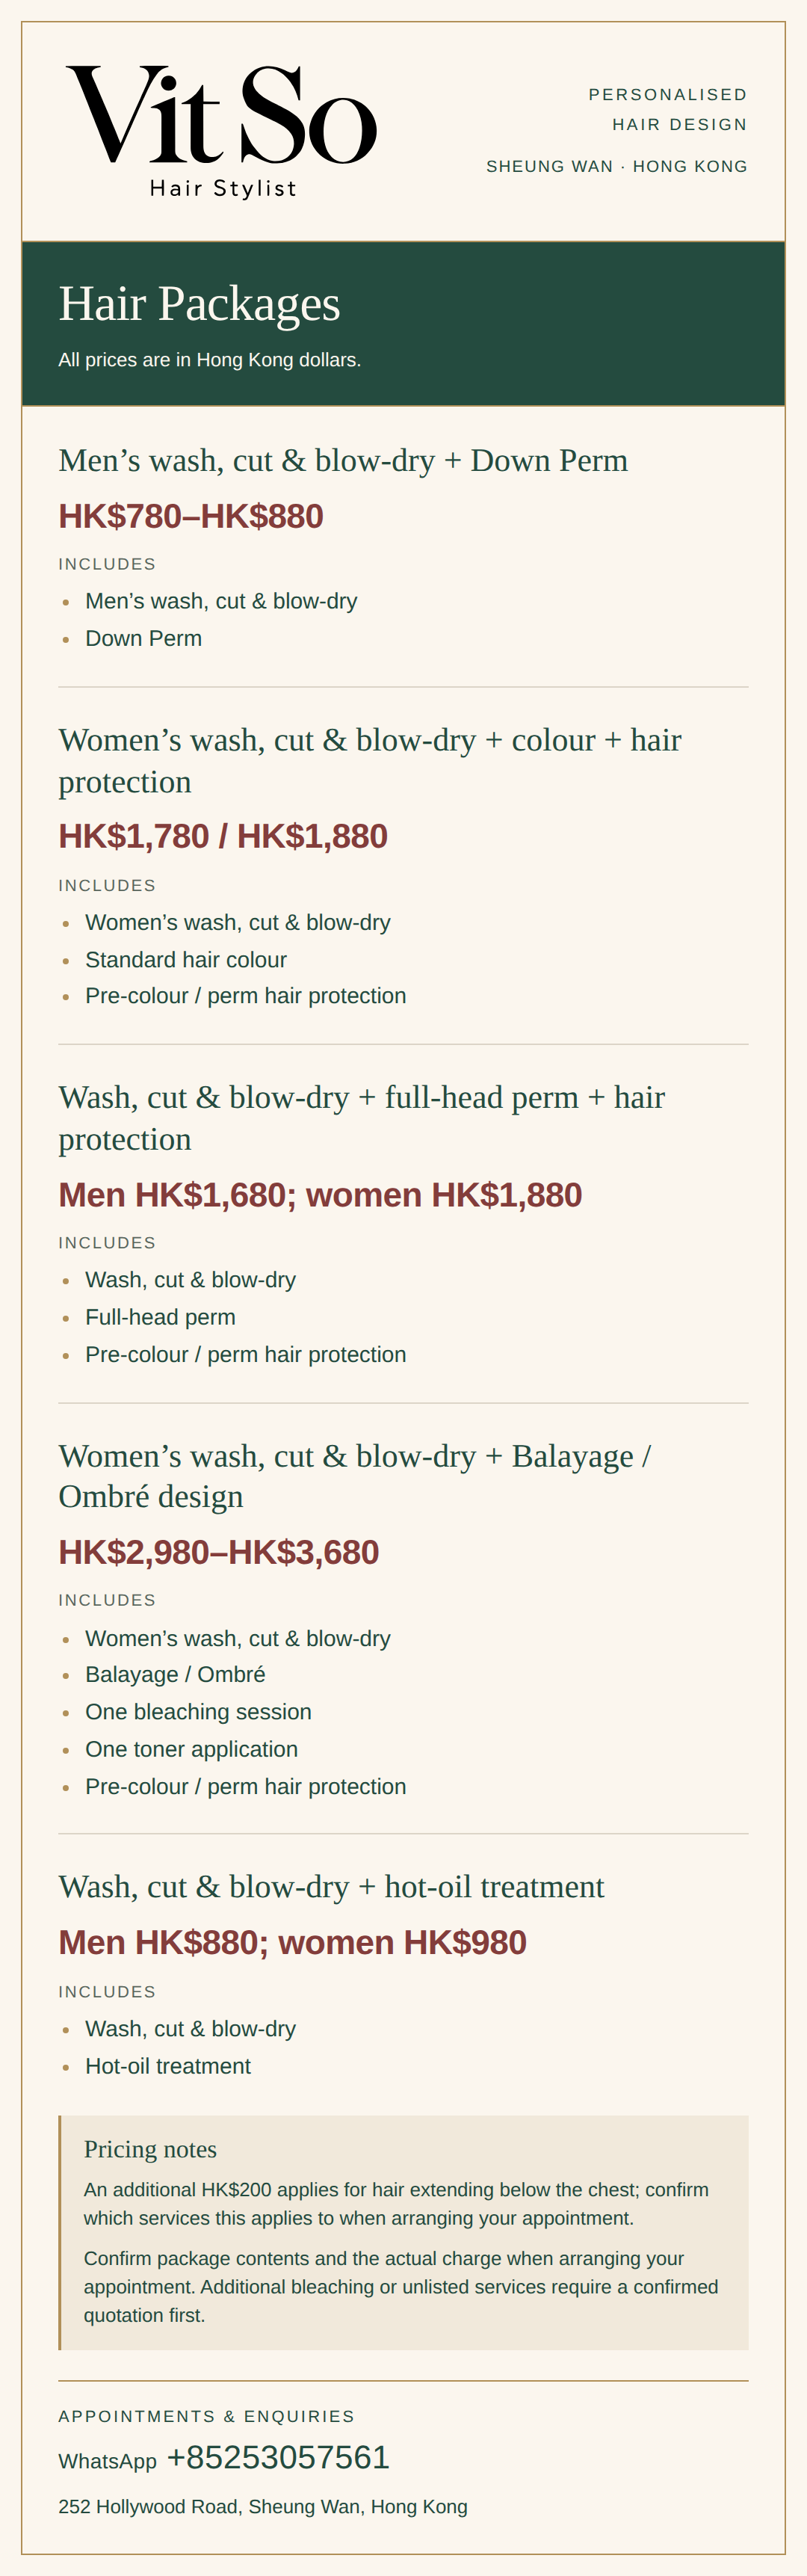
For a women's haircut, agree on the cutting scope and the finish separately. The confirmed price for women's wash, cut and blow-dry is HK$480. That is a listed service price, not a separate shag or wolf package. Ask whether a length surcharge applies and confirm any additional styling or chemical service before proceeding.
Choose the change that matters most
Prioritise your main request: stronger crown layers, a more visible longer back, or a looser outline with a fuller lower edge. You do not have to make every feature equally dramatic. Use the comparison and checklist below to decide where you are flexible and where you need the original coverage or length preserved.

Compare shag and wolf references by the parts you will actually keep or shorten
| Decision | Shag haircut reference | Wolf cut reference |
|---|---|---|
| Upper layers | Look for the shortest pieces and how they connect through the shape. | Check how strongly shorter top pieces contrast with the longer lower lengths. |
| Side view | Notice whether the layers form a loose but connected outline. | Look for a more pronounced front-to-back difference; decide how visible it should be. |
| Bottom edge | Choose how full the perimeter should remain, regardless of overall length. | Do not confuse a long back with a full back; agree on retained weight. |
| Fringe | Assess forehead coverage independently from the rest of the layers. | A fringe is optional; decide whether the front needs shortening at all. |
| Daily wear | Check the unstylised fall and which pieces escape when tied up. | Check the same needs, especially when the upper-to-back contrast is stronger. |
Your preparation checklist
- Save references showing the front and the side or back, and point out the specific layer pattern you like.
- Identify your shortest acceptable crown and face-framing pieces, rather than agreeing only on total length.
- State where the longest back edge should remain and how substantial you want the lower outline to look.
- Show your normal ponytail or tuck-behind-the-ear routine and identify sections that must remain easy to secure.
- Explain your ordinary drying method, then confirm the cutting scope, finishing steps and applicable charge.
Frequently asked questions
Are shag and wolf names fixed salon packages?
No. They describe possible shapes for discussion. The actual scope needs to be adapted to current length, density, natural fall and the areas you want to keep.
Does either cut automatically create waves?
No. The finished photograph may involve natural texture or styling. Discuss the cutting structure separately from added curl or styling methods.
Can I keep a substantial lower edge with visible layers?
Describe that as a priority and compare the upper pieces with the perimeter. The feasible balance depends on the current cut and available density rather than the style label alone.
Agree on your shortest layers before changing the outline
Send Vit So your preferred shag or wolf reference alongside a recent photograph of your own hair. Mention the back length you want to keep, your tie-up needs and your usual drying routine. Enquire about a consultation in Sheung Wan to discuss the shape and service scope; an enquiry is not a confirmed booking.
Start your WhatsApp enquirySources & further reading
- Guide to Wolf Cuts
Wolf-cut structure, shorter top and crown areas, retained sides and back, and the option to omit a fringe.
- Hair styling without damage
Partially air-drying, reducing blow-drying frequency and using flat irons on dry hair at low or medium heat.