




Highlight placement for hair worn in two braids starts with the crossing pattern
In a regular plait, sections repeatedly cross over one another. A highlighted strand may face outward at one crossing, move to the side at the next and become hidden beneath another section further down. The colour has not necessarily been applied in disconnected pieces just because you see separate bright patches. Before asking for a correction, look at the same strand with the braid gently undone. The difference may be visibility rather than an uneven colour line.
Decide what you want that repetition to look like. A broader light ribbon may make a more obvious patch whenever it turns outward, while a narrow strand may appear as a small accent against the darker hair. Neither effect is automatically better. For example, someone who prefers clearly defined plaits might welcome repeated contrast, whereas someone wanting a quiet everyday finish may prefer less difference between light strands and the base. Discuss the visible pattern, not only a shade name.
Preview highlight placement for hair worn in two braids at your normal height
This guide focuses on two everyday plaits formed from separately gathered halves of the hair. If you make French or Dutch braids that pick up hair along the scalp, show that exact method instead: the route into the braid is different. Also explain whether the tails sit behind your shoulders or come forward. A pattern designed around low plaits cannot be assumed to appear identically in higher braids or after changing which sections you cross first.
Compare continuous ribbons with smaller light segments
Use loose hair as a baseline, then compare the finished braid. Track where a visible line begins, where it disappears beneath a crossing and where it returns. You do not need to follow every strand. Choose a few recognisable light areas and ask whether their repeated appearance feels balanced. A ribbon that looks delicate across a flat sheet of hair can look wider when several lighter strands gather on the same outward-facing part of a plait.
If you want finer accents, ask how babylights could be distributed through the sections you actually braid, rather than assuming the service name determines the result. Width, spacing and colour contrast still need separate discussion. Many fine strands placed close together can make a bright area; a few wider strands separated by plenty of base colour can leave the overall head looking darker. Check the combined effect at the crossings before deciding that the smallest possible strands are necessary.
Fine sections describe width, not a guaranteed braid pattern
Wella's professional guide to babylights describes highlights created on much finer sections than traditional highlights. That helps explain the terminology, but it does not establish a specific result in two braids. Your existing colour distribution, braid sectioning and preferred contrast still matter. Treat the term as a starting point for discussing strand size, not a promise that every crossing will contain an identical amount of light hair.
Check both sides, the central part and lower gathering paths
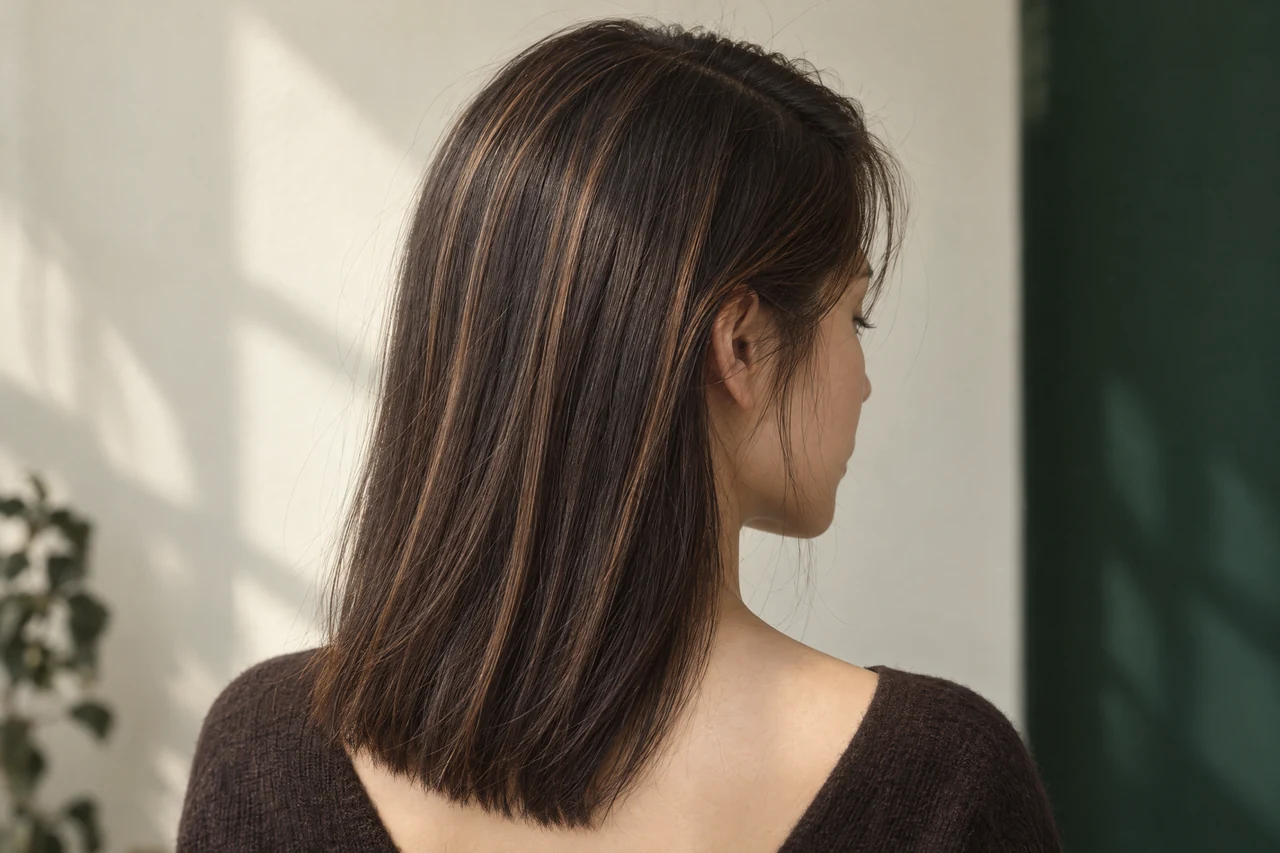
A central part divides the hair before it enters two separate braids. Look along both edges of that part and then towards each ear. A light area close to the division can be visible before the first crossing, while another area may disappear into the gathered hair. If you normally make a slightly off-centre part, keep it that way for the preview. Moving the division solely to make a reference look symmetrical would show a hairstyle you do not usually wear.
The movement check used for highlights that show in a ponytail is helpful, but two plaits require two separate gathering paths rather than one shared tie. Inspect how hair travels from the back of each half towards its gathering point. Then look at the first few crossings and the lower tails. A front-facing photograph can miss a dark section behind an ear or a stronger light patch that appears only when a braid rests behind the shoulder.
Aim for a comparable impression, not identical crossings
Check the left and right braids together in the same light, then separately from the side and back. Balance need not mean a bright patch at precisely the same height on both tails. Hand position, section size and existing layers can make their shapes differ. A useful agreement might be that neither side should look substantially brighter overall, while allowing natural variation in individual crossings. Say which view matters most during your normal day.
Keep dark spaces separate from comfortable braid tension
Dark spaces between lighter areas help you judge the colour pattern, but braid tightness is not a substitute for placement. Pulling sections harder changes which surfaces face outward and how compact each crossing looks. If the highlights only appear as you want when the braid is unusually tight, that is not a useful everyday preview. Make the plaits comfortably, allow the small variations you normally leave and compare the colour in that state before asking for more light strands.
The American Academy of Dermatology's guidance on hairstyles that pull explains that tightly braided hair and repeated pulling can cause traction alopecia. It recommends loosening braids, particularly at the hairline, and changing a hairstyle immediately if it causes pain, scalp stinging or crusts. Do not accept discomfort to obtain a sharper colour photograph. If you notice hair loss, seek a dermatologist's assessment rather than treating it as a placement problem.
A softer-looking pattern does not establish suitability for lightening
Keep the colour enquiry on hold if you have unresolved scalp discomfort or noticeable breakage, and explain what has changed before arranging chemical work. A hairdresser can discuss the proposed service and hair condition; healthcare concerns need appropriate clinical advice. Give a clear history of previous bleaching, colouring, straightening or perming. Choosing narrower or less contrasting highlights describes a visual preference, not proof that additional processing is suitable for your hair.

Choose coverage only after identifying the visible sections
Once you know which crossings matter, decide which areas need colour. You may want an accent along the parting, light strands within the lower gathered sections, or both. These requests involve different areas even when the target shade is the same. The comparison of partial vs full highlights helps keep coverage separate from brightness. Fuller coverage does not mean every braid crossing must be pale, and a smaller highlighted area is not automatically subtle when it sits on an exposed surface.
Ask for the proposed sections to be described before comparing a quotation. A request for more visible lower crossings is not the same as making the existing highlights lighter. Nor does a quiet top view establish how much work is needed underneath. Confirm which work is included, whether existing lightened sections need attention and whether any additional service needs a separate quotation. Avoid deciding that a fuller service is necessary simply because one photograph shows a dark stretch in a braid.
Think about trims and grow-out in the braided view
If a haircut is also planned, discuss the braid preview with the intended length and layers in mind. Shorter ends may leave a different portion of the colour visible below the tie, while layers can change the shape of the crossings. As roots grow, the central part may become your main concern even if the tails still look balanced. Photograph the changed areas before requesting a refresh rather than assuming the original coverage must be repeated everywhere.
Prepare a two-braid reference that supports a clear enquiry
Use these 6 preparation checks to turn a colour reference into a practical two-braid enquiry. Photograph your own usual style from the front, each side and the back, keeping the light as consistent as possible. Add one loose-hair photograph so the starting distribution is visible. If one braid is normally neater than the other, record that honestly rather than rebuilding both into a polished style you will not maintain. The aim is a useful comparison, not a perfect photograph.
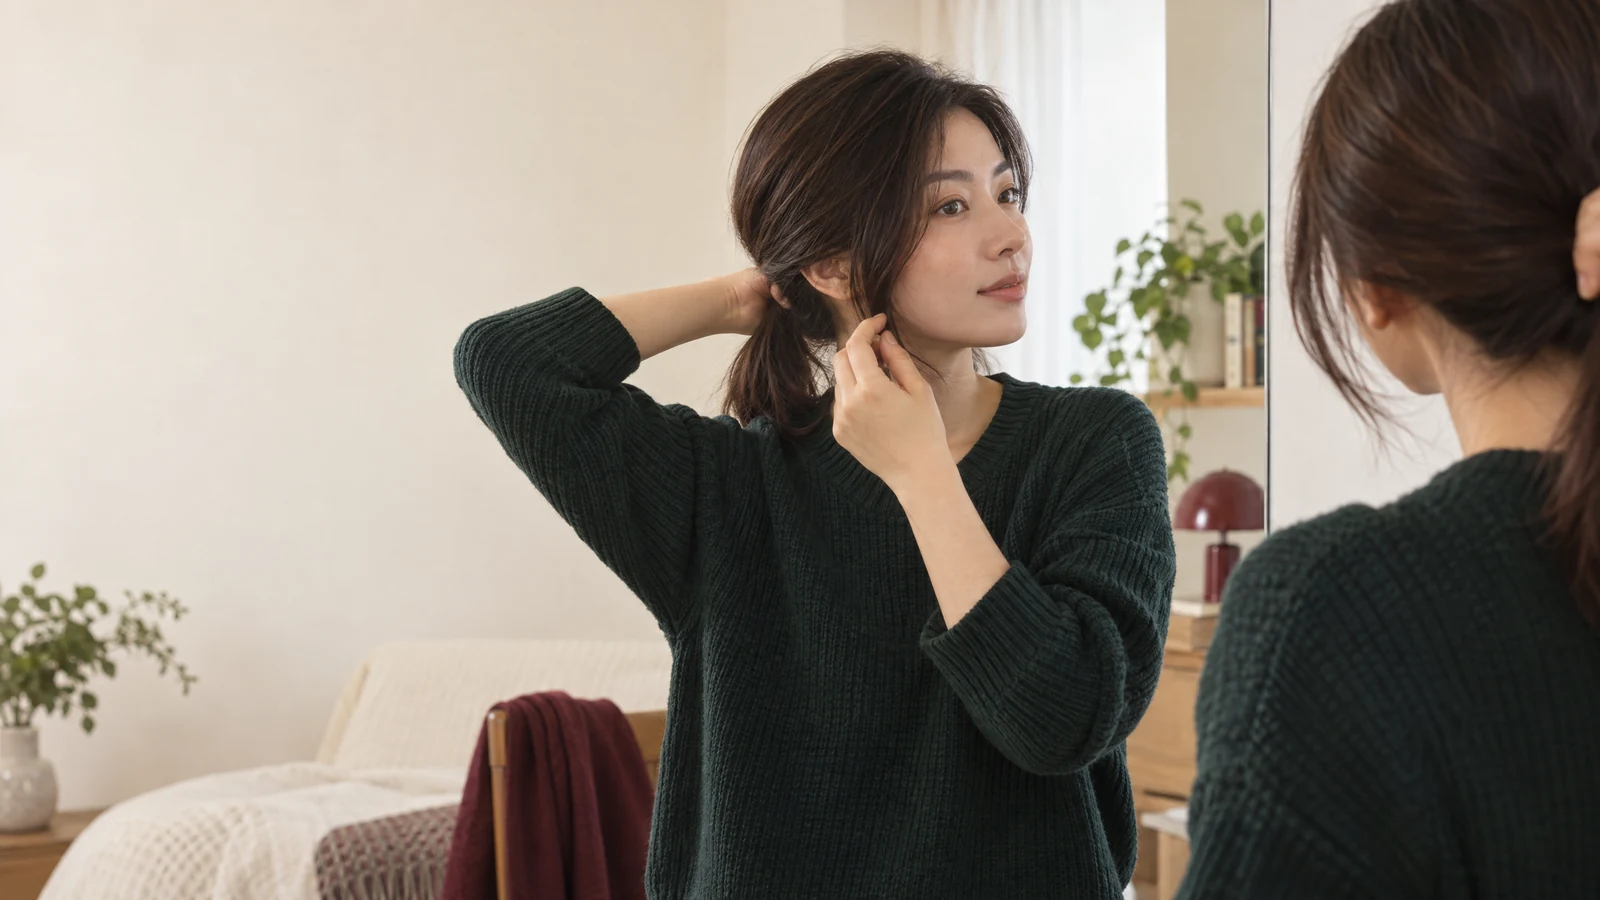
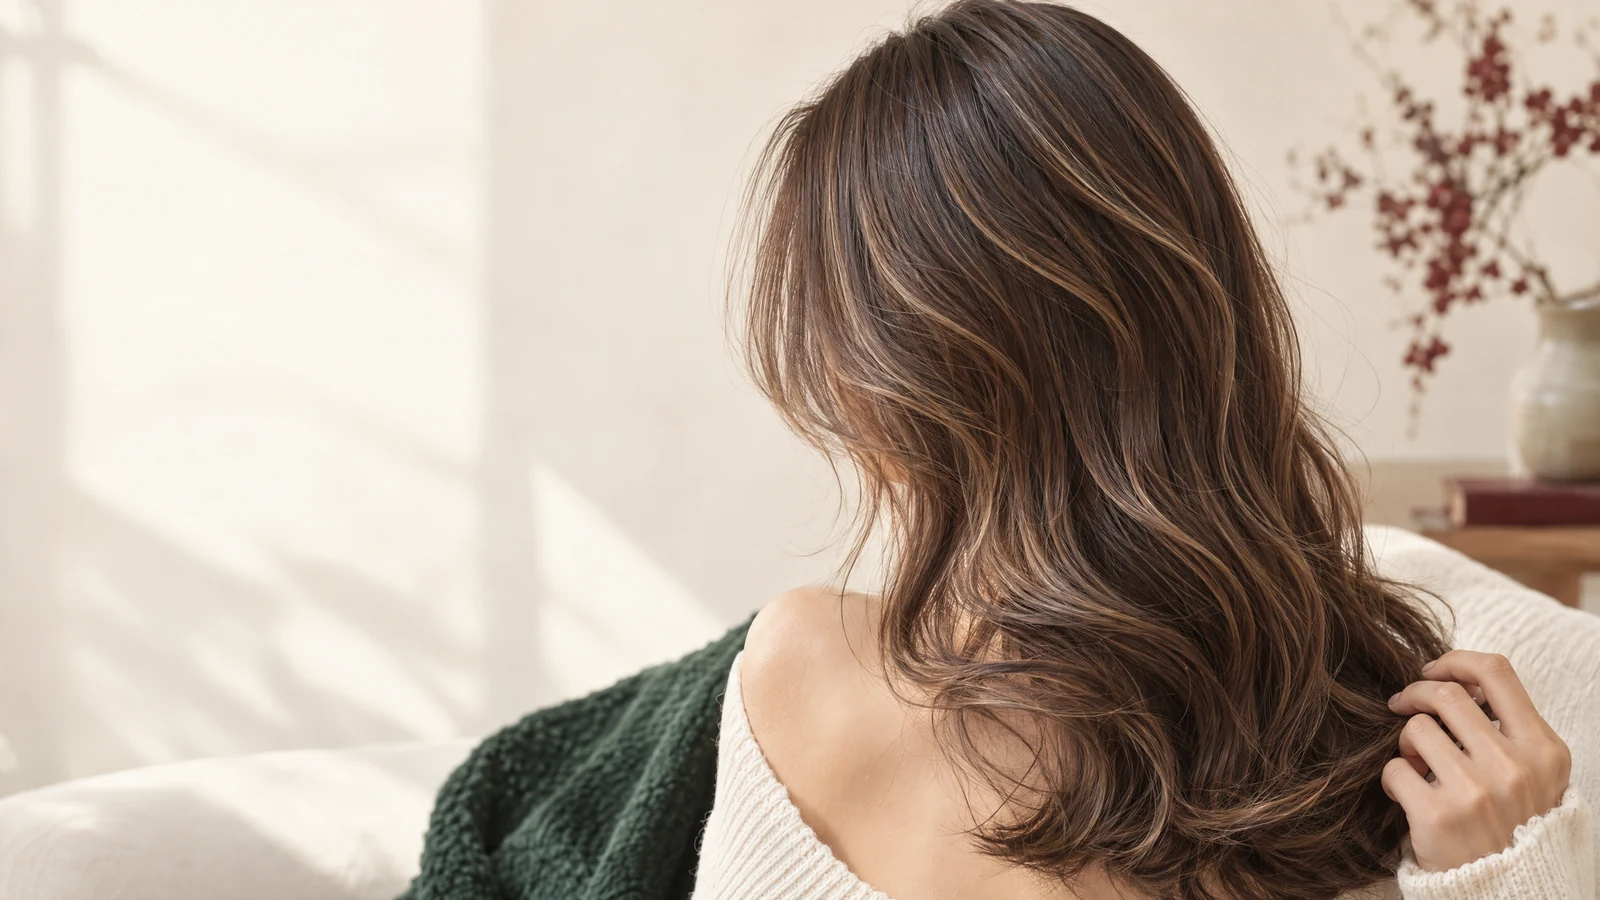
Bring an appealing reference and explain the particular feature you like: a repeated bright patch, small accents at the crossings or a darker overall impression. Also identify an effect you do not want. The concept images here show loose hair and ponytail gathering, not completed two-braid designs; they illustrate strand direction, dark spacing and reference preparation only. They cannot demonstrate your final plait pattern or replace seeing your actual hair and usual sectioning before a colour plan is agreed.
Describe a preference that can be checked in both states
A clearly hypothetical enquiry could be: 'I wear two low plaits with a central part on most weekdays. I like small light accents at the crossings, but I do not want one braid to look much brighter or the loose hair to look heavily striped.' That gives the hairdresser a braided goal and a loose-hair boundary. Add your processing history and ask what can reasonably be proposed after assessment, rather than asking for an exact copy of someone else's photograph.

Compare the visible pattern before choosing the extent of colour work
| What you notice | What to check | Useful decision |
|---|---|---|
| Bright blocks repeat down a plait | Undo a section and inspect the light strand | Decide whether you like the crossings before assuming uneven application |
| Small accents disappear at some crossings | Check width, spacing and which surface faces outward | Discuss visibility rather than automatically increasing lightness |
| One braid looks brighter | Compare both gathering paths and the usual part | Agree overall balance, not a perfectly mirrored pattern |
| The top is quiet but lower sections are bright | Inspect the parting and each lower gathering point separately | Specify the areas that matter before choosing coverage |
| Colour looks right only when pulled tight | Rebuild both plaits with comfortable tension | Judge the everyday pattern; do not use discomfort as a styling tool |
Your preparation checklist
- Record your usual parting and where each braid begins.
- Take front, left, right and rear views in consistent light.
- Include loose hair to show the existing direction of light strands.
- Identify a crossing pattern you like and one you would avoid.
- Describe previous chemical work, breakage or current scalp discomfort.
- Explain planned trims and ask for the proposed scope and quotation to be confirmed.
Frequently asked questions
Will a continuous highlight look continuous all the way down a braid?
Not necessarily. Crossings can hide part of a continuous strand and reveal it again lower down, making it look like separate patches. Compare the braid with the same hair loose before judging application. If the loose strand also has an unexpected boundary, point that out for assessment rather than assuming every gap comes from braiding.
What matters when choosing lighter strands that cross through everyday plaits?
Start with the braid method, normal part and gathering height. Then compare strand width, dark spacing and contrast at the crossings on both sides. Say whether you prefer repeated bold patches or small accents. Coverage is a later decision about where colour work is needed, not another word for how pale the visible strands should be.
Do I need matching highlights on both sides for two braids?
You can ask for a comparable overall impression without expecting every crossing to match. Different section sizes, layers and the way your hands form the plaits can change what shows. Bring views of both sides and identify any imbalance that bothers you. Judge it in the hairstyle you actually wear, with comfortable tension.
Bring your everyday two-braid pattern to a colour enquiry
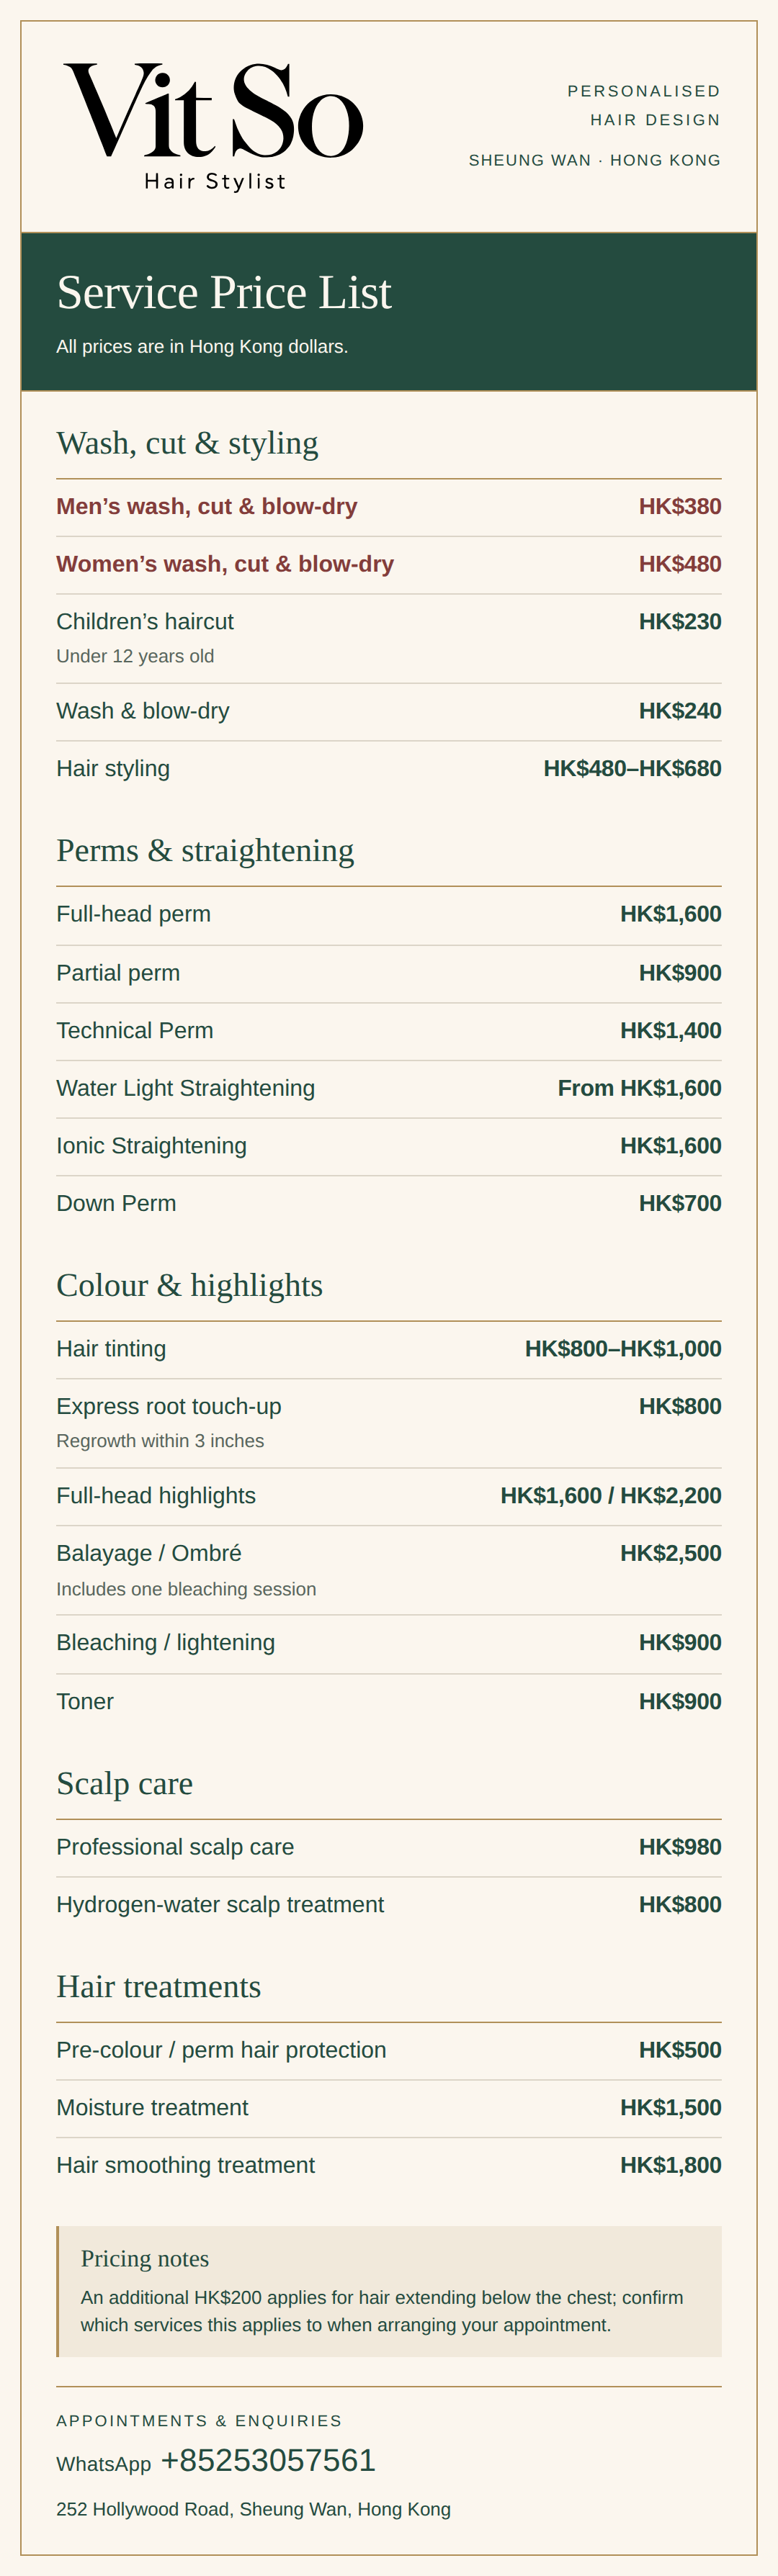
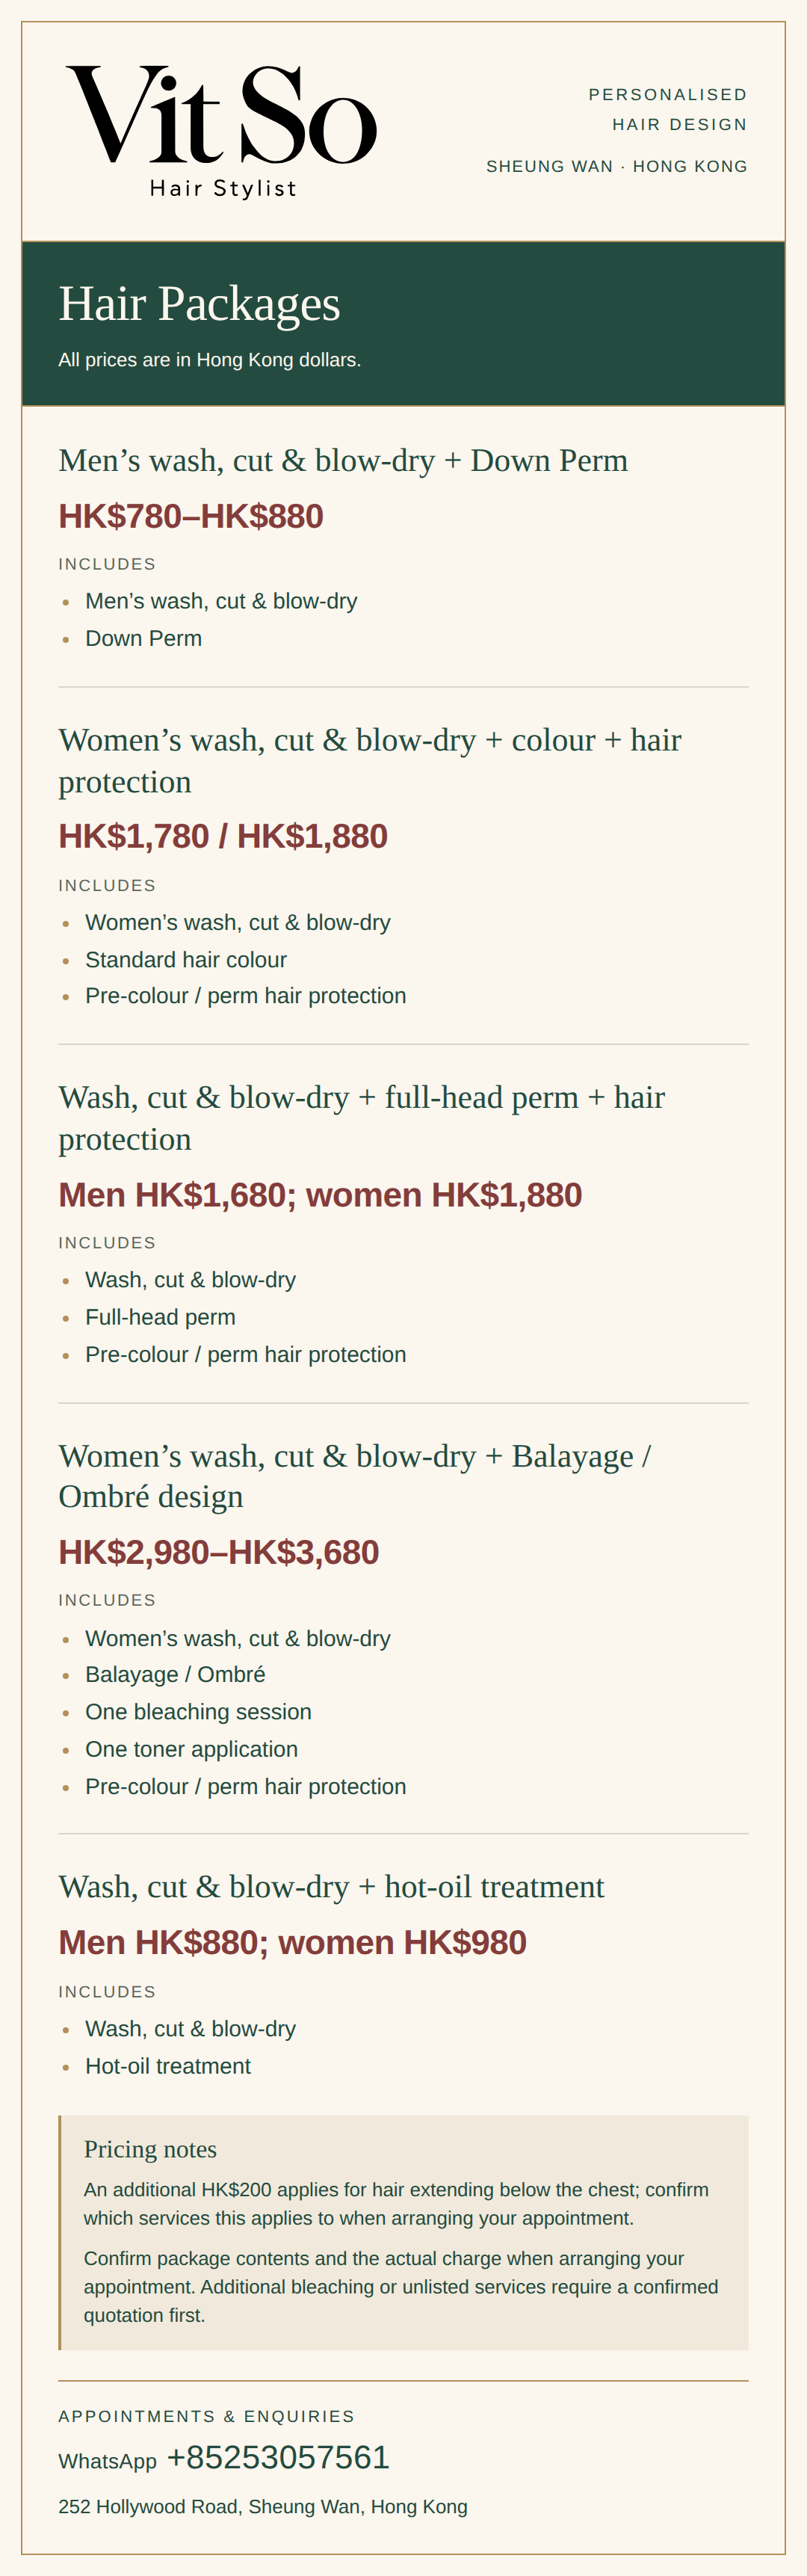
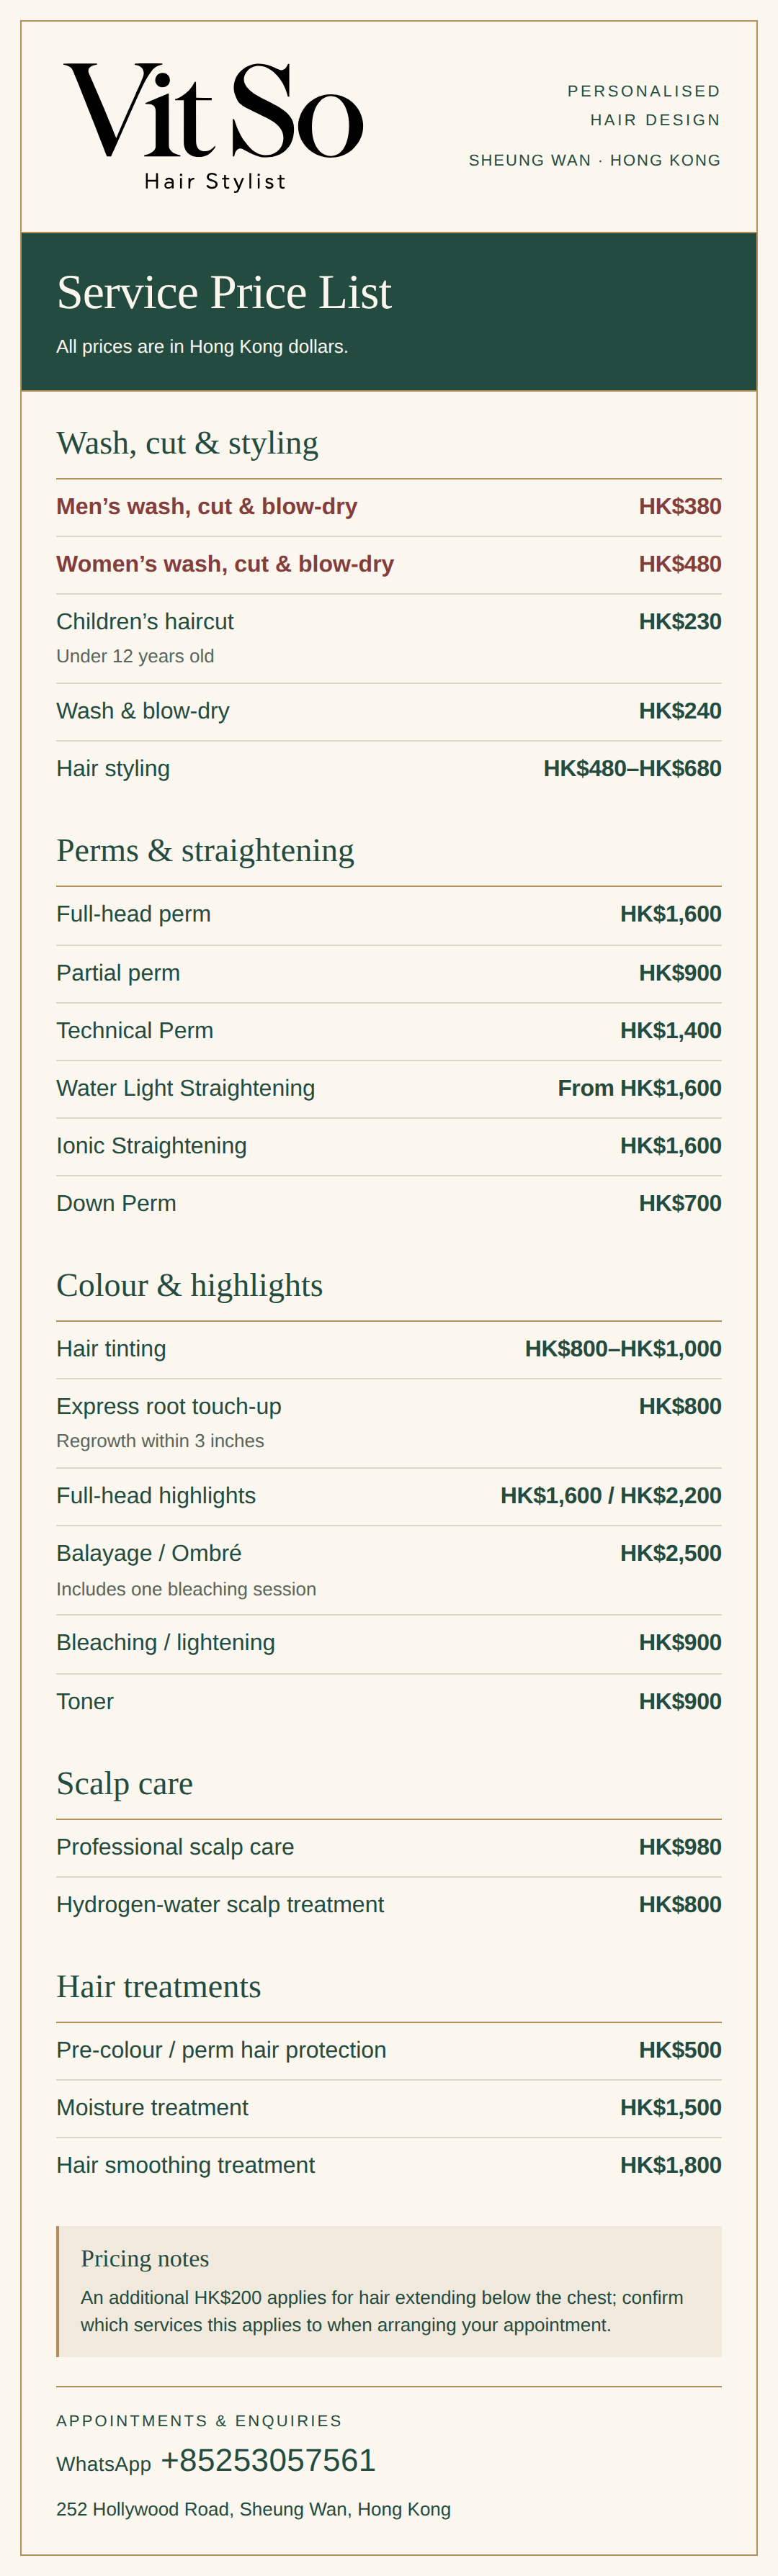
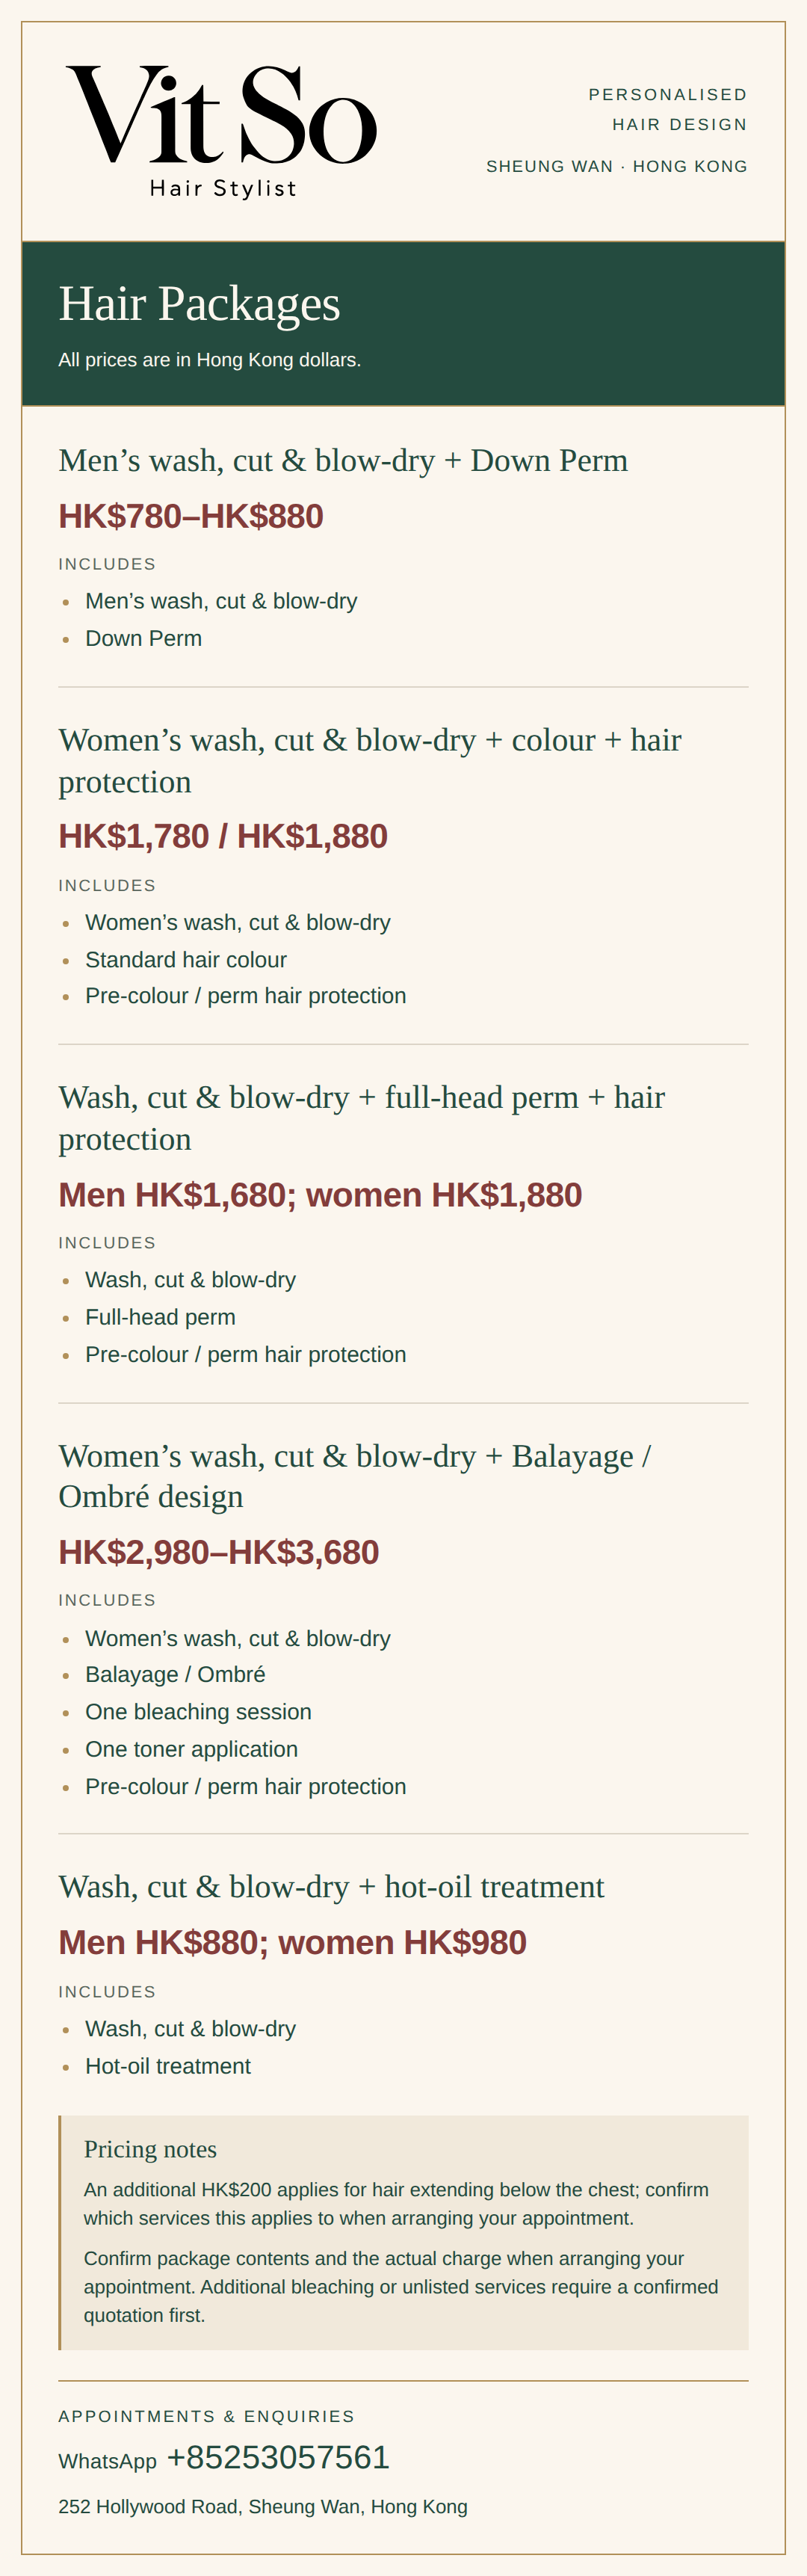
Send Vit So your usual two-braid and loose-hair photographs, previous colour history and the crossing effect you prefer via WhatsApp +85253057561. Ask about a placement assessment and confirmed quotation at 252 Hollywood Road, Sheung Wan, Hong Kong. Your enquiry is not an instant booking; the proposed work and appointment require confirmation. If consultation language matters to you, please confirm it when enquiring.
Start your WhatsApp enquirySources & further reading
- Your Everything Guide to Babylights
Wella's professional education guide explains that babylights use much finer sections than traditional highlights. Useful for strand-width terminology, not a guarantee of a particular pattern in braids.
- Hairstyles that pull can lead to hair loss
American Academy of Dermatology guidance explains the risks of repeated pulling, recommends looser braids and describes discomfort and hair-loss signs that warrant changing styling or seeking assessment.